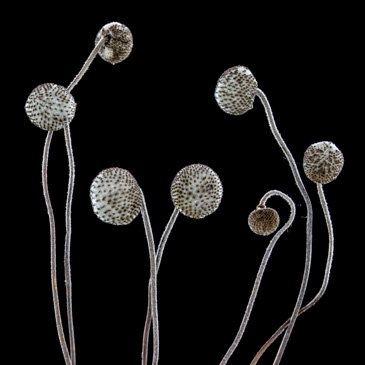
Heads of Distribution
What happens when you photograph a seed head as though it were a person?
In this project, I used macro photography, selective focus and cyanotype printing to give flowers and seed heads the attention normally given to a portrait subject.
Panel
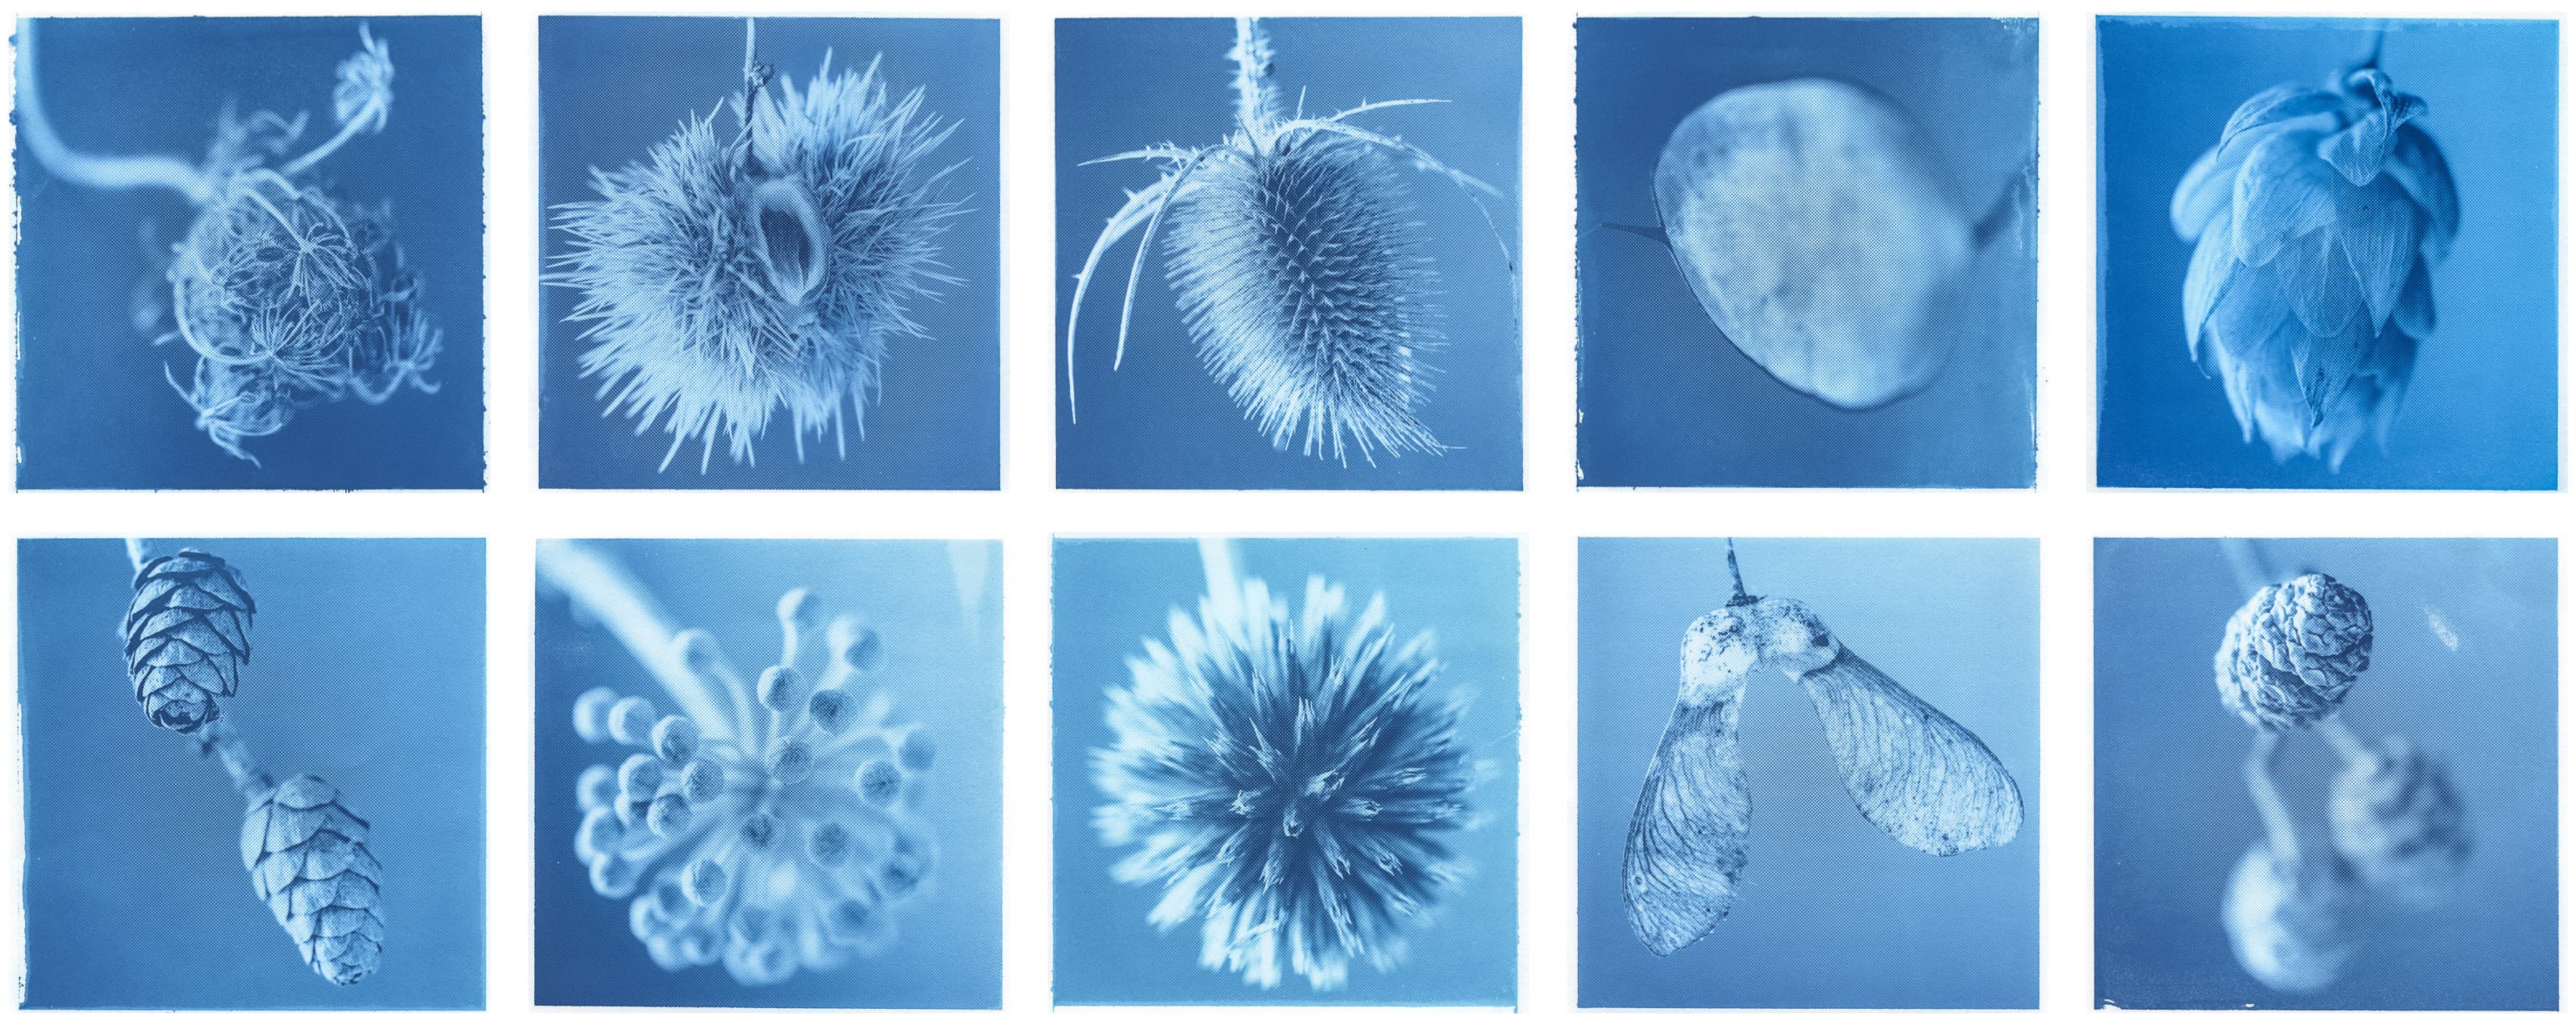
I photographed each subject close up with a macro lens. Unlike traditional macro photography, where front-to-back sharpness is often seen as a priority, I photographed the subjects with a shallow depth of field, like you might do with an intimate head shot of a person. I combined this with three-point studio lighting to emphasise form and texture, giving each subject the presence of a portrait sitter.
False bishop's weed (Ammi majus)
OM Digital Solutions OM-1 Mark II and OM 90mm F3.5 at 90 mm (35 mm equivalent: 180 mm). 1/250s at f/3.5, ISO 200. Cyanotype print digitised with Epson Perfection V550.
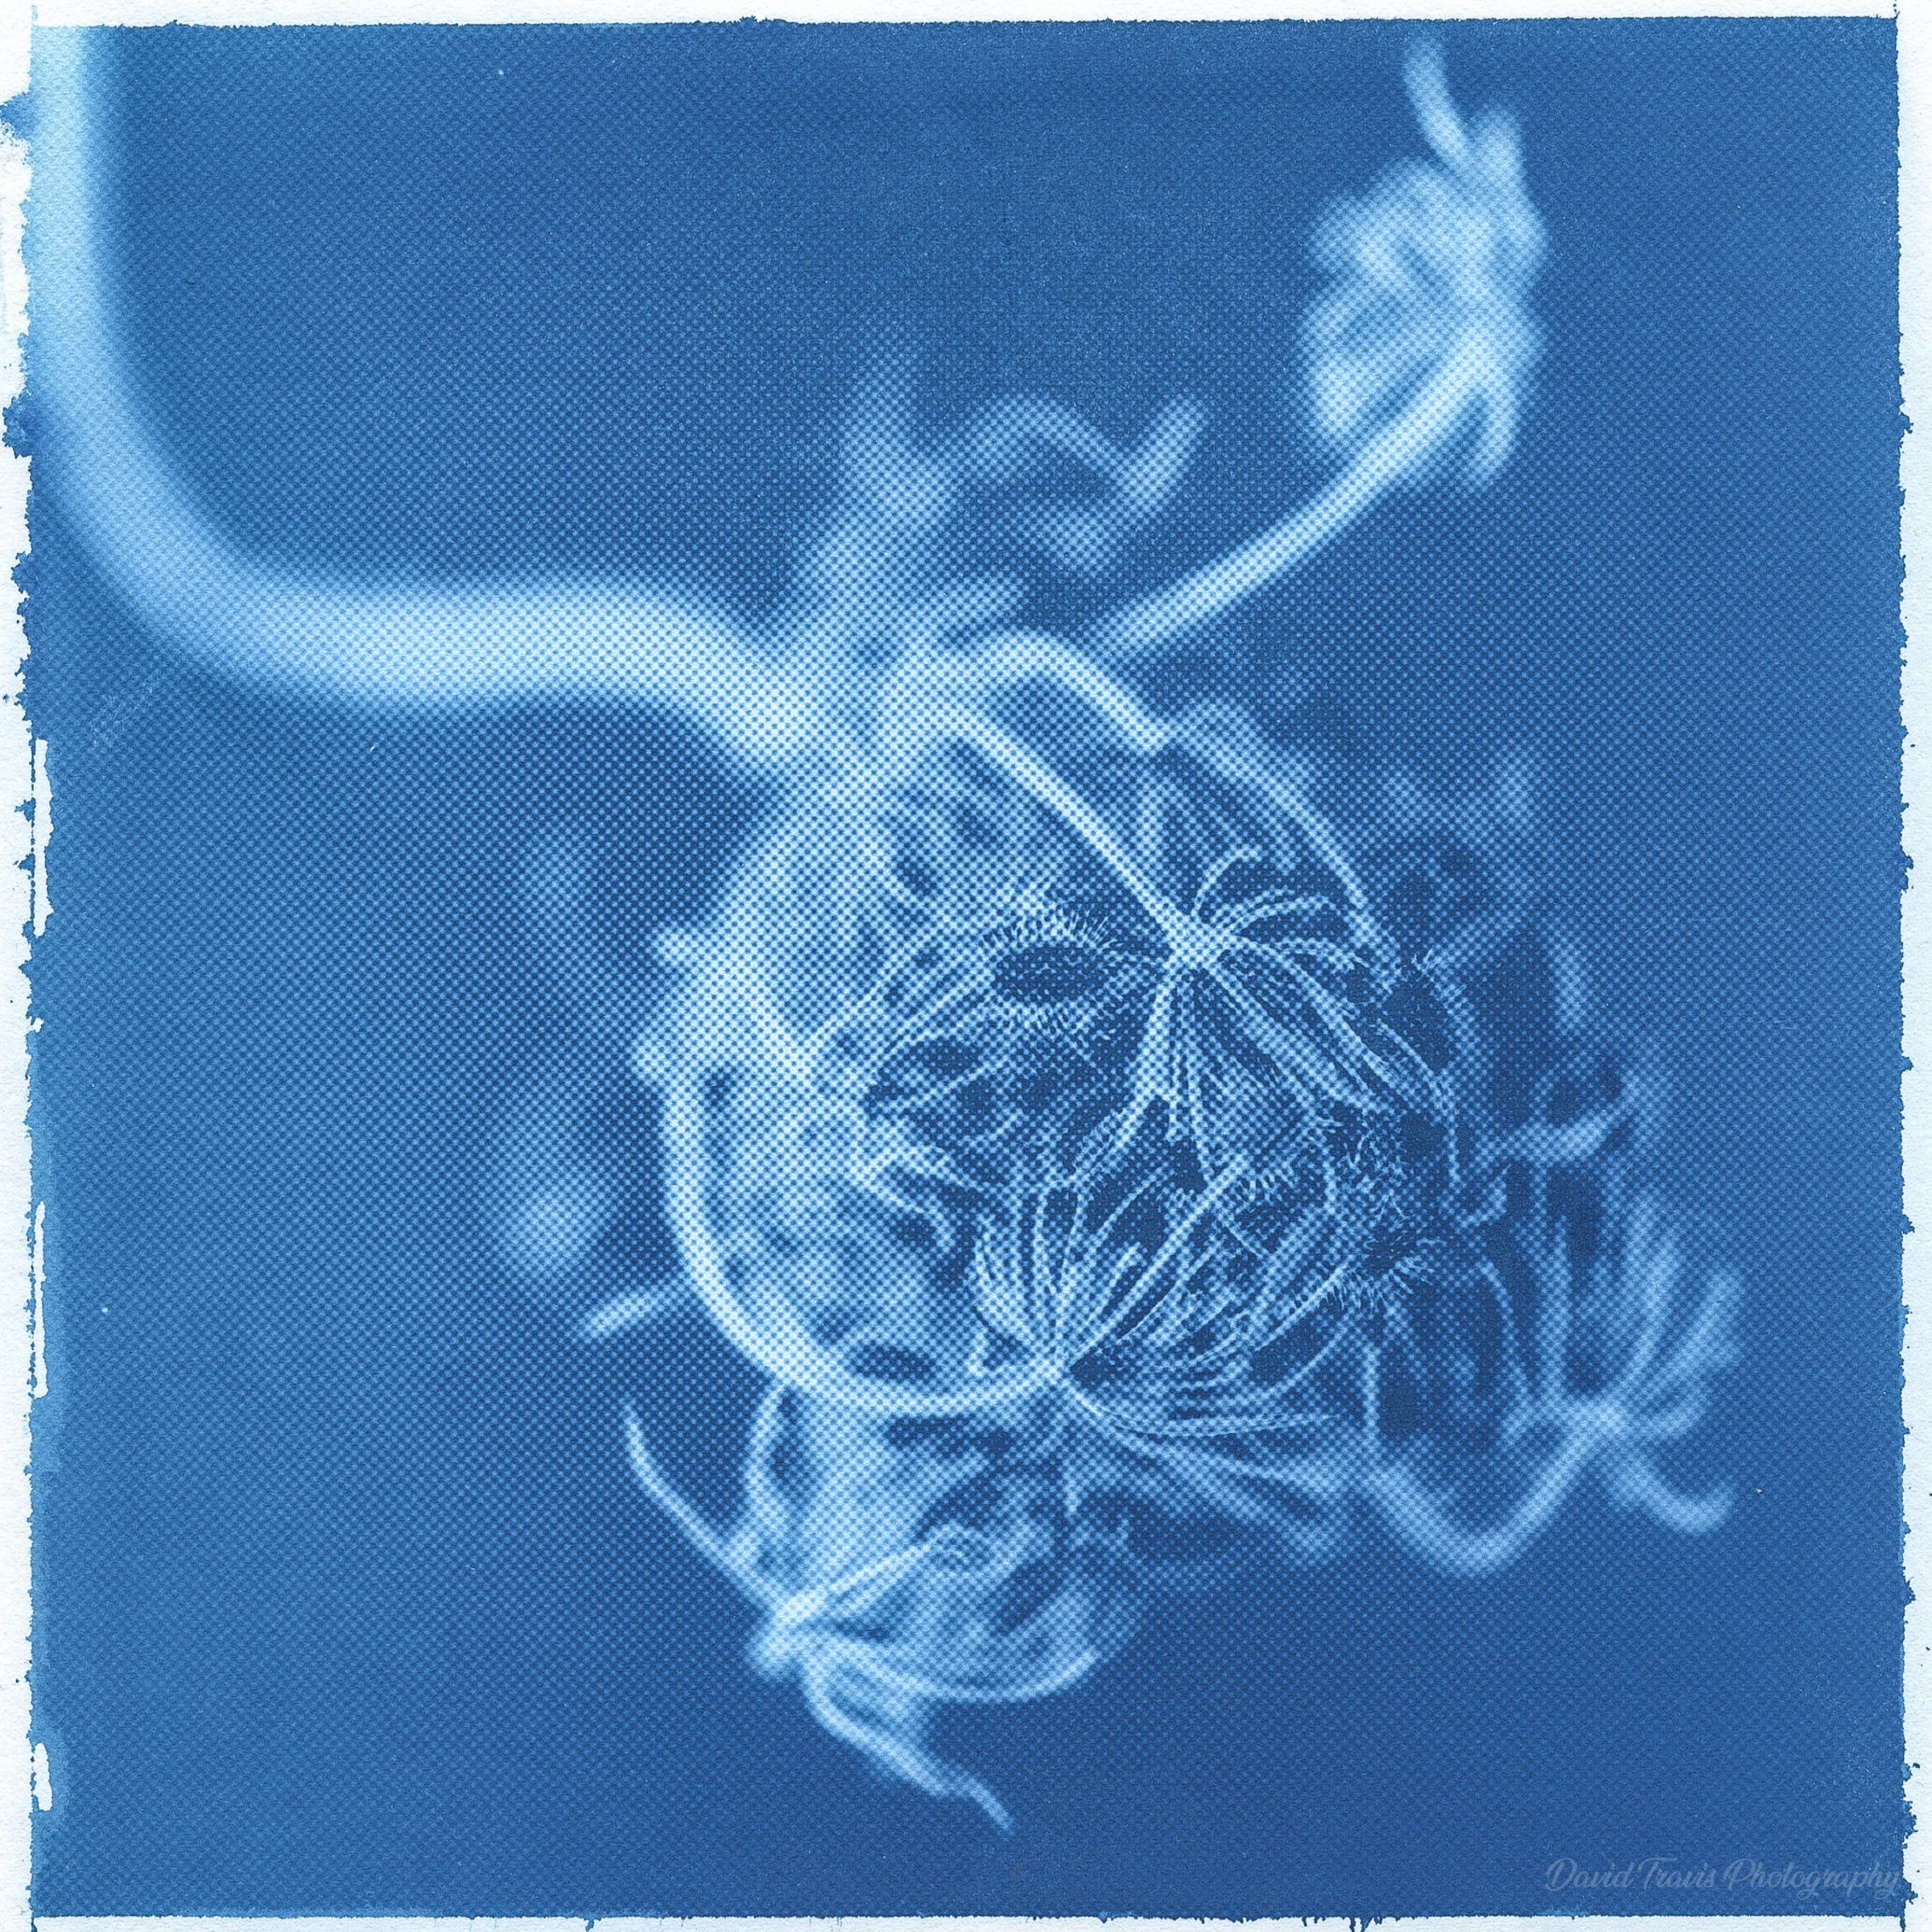
I chose this approach because I wanted to emphasise a more contemplative way of looking. We walk past seed heads every day and typically dismiss them as brown, dead things. But look closely and there’s a real beauty to be found.
Globe thistle (Echinops)
OM Digital Solutions OM-1 Mark II and OM 90mm F3.5 at 90 mm (35 mm equivalent: 180 mm). 1/250s at f/3.5, ISO 200. Cyanotype print digitised with Epson Perfection V550.
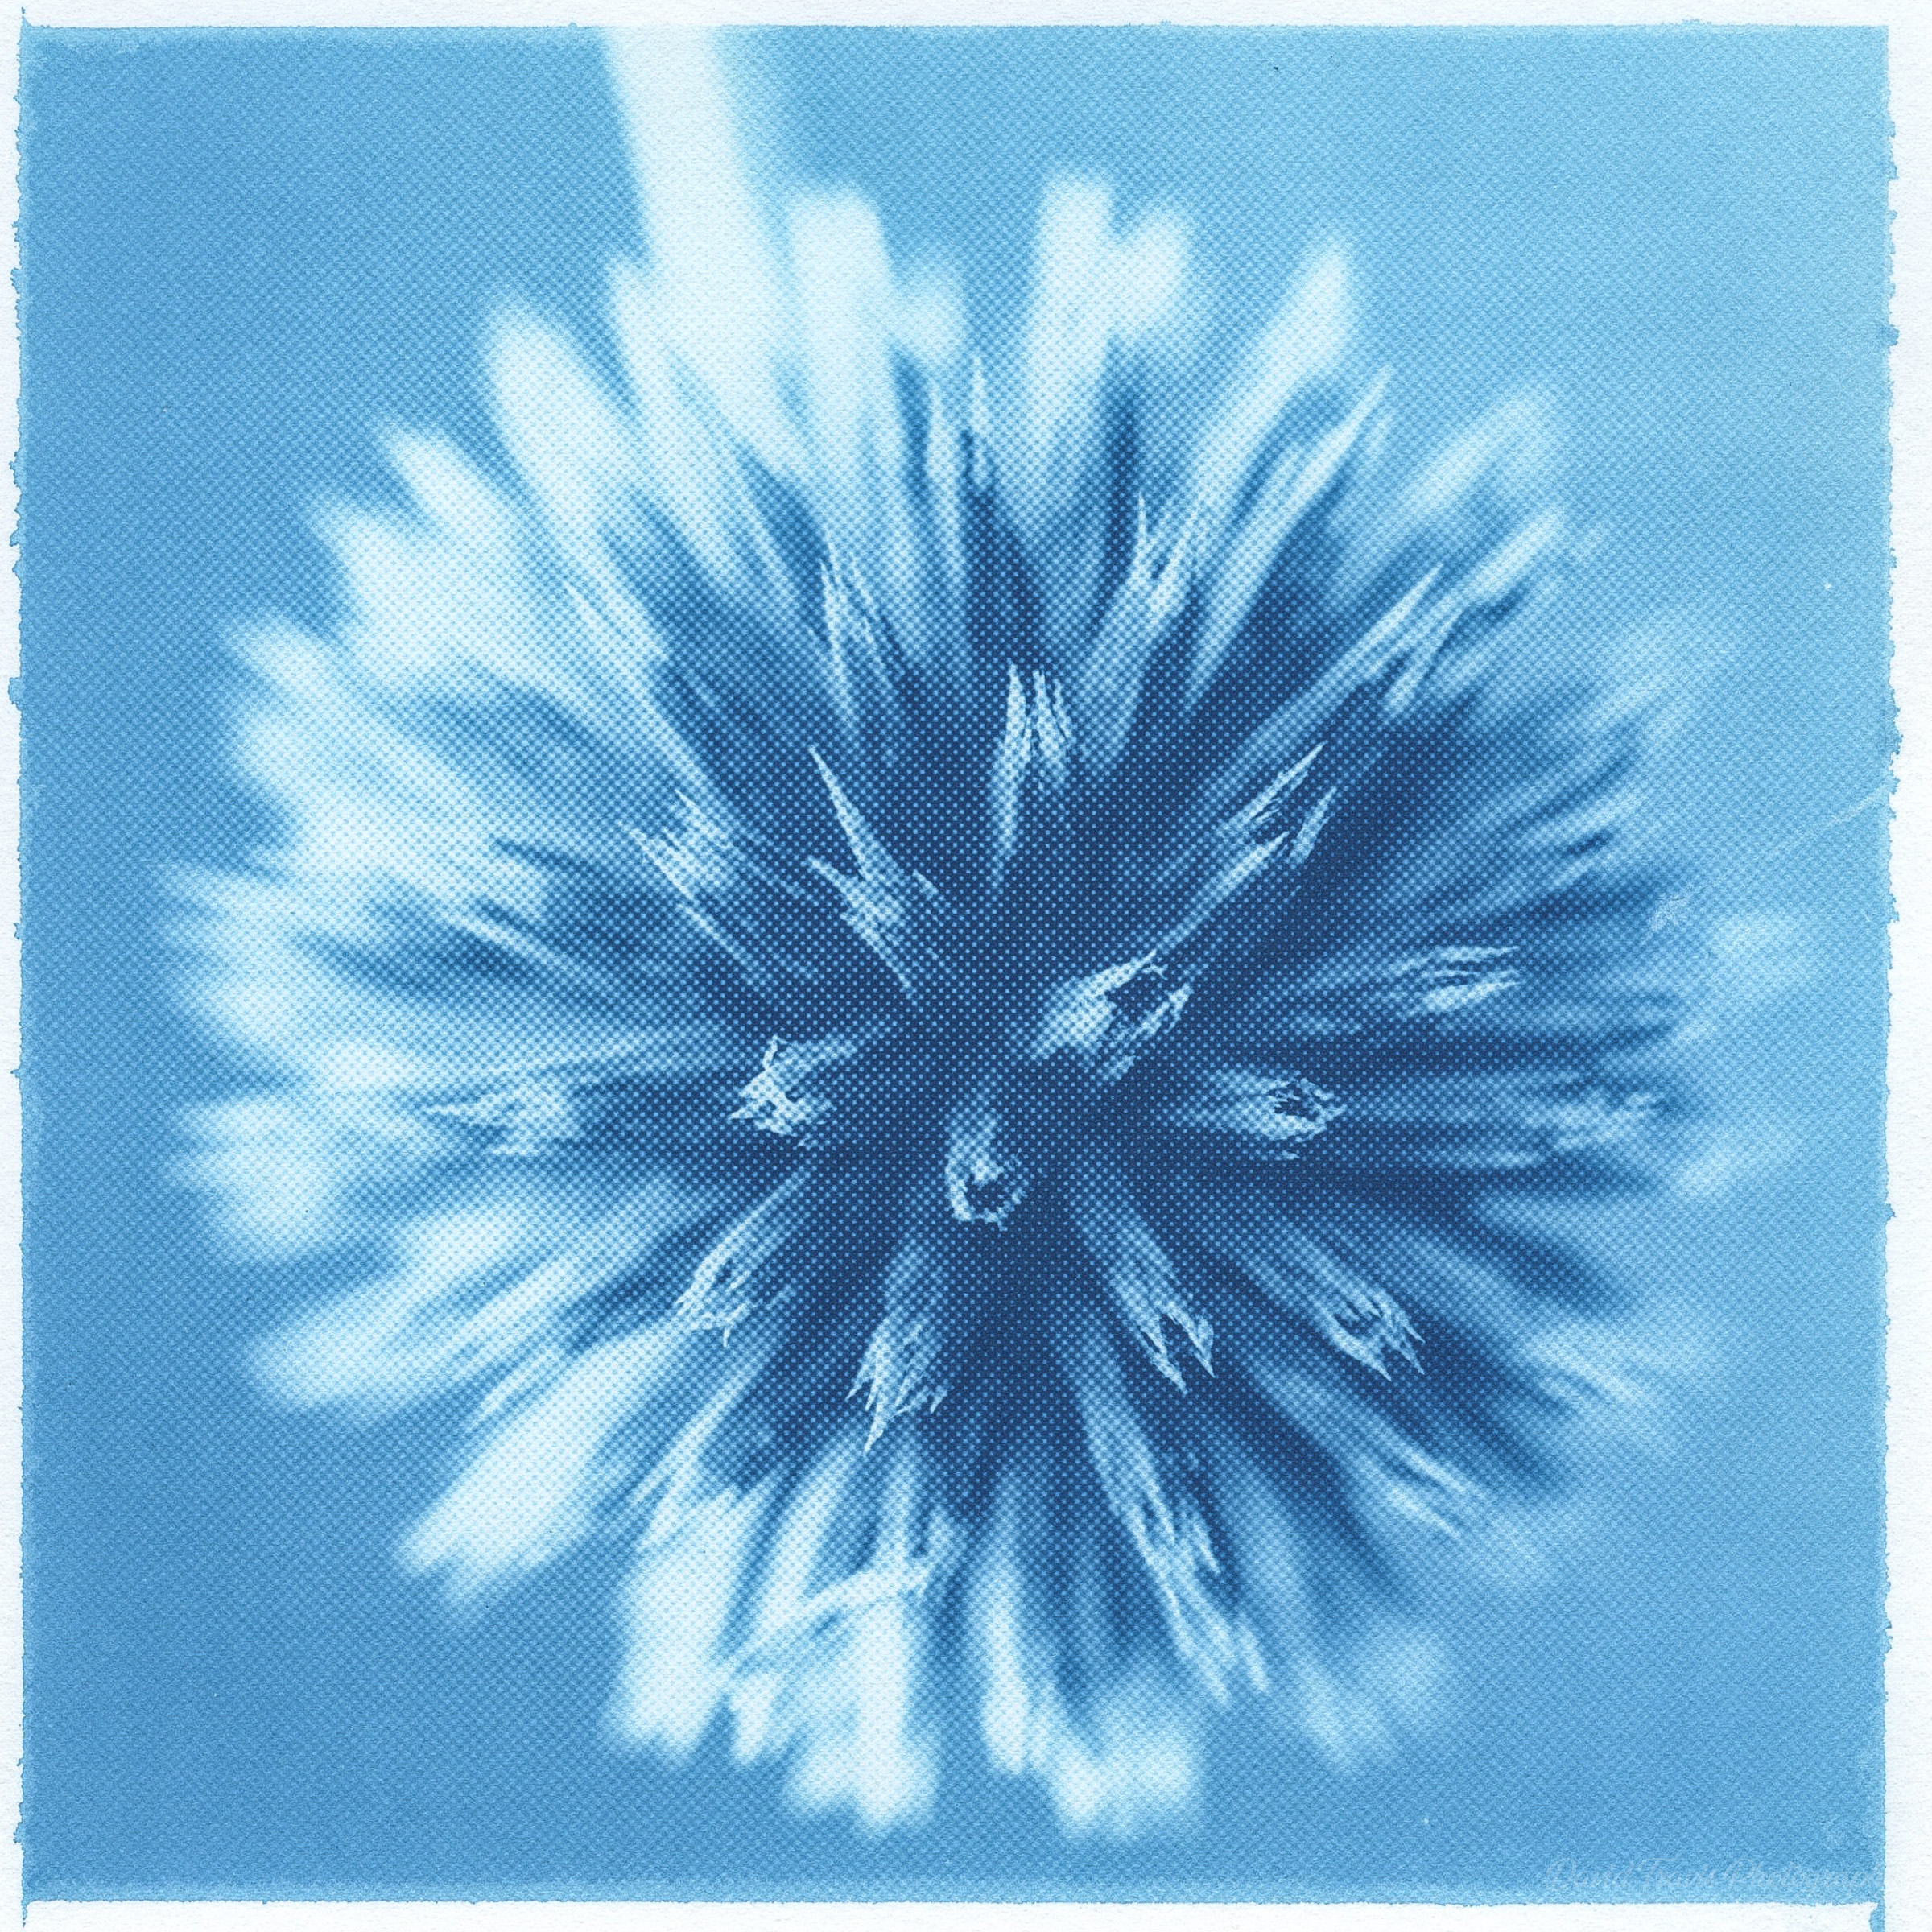
I've been working on this project for a while. Initially, I photographed the plants on a black background, but that felt too stark. I also tried photographing them wider, showing the stem, but that failed to capture much of the beauty. Eventually, I iterated towards this higher key, shallow focus treatment.
The shallow depth of field helps isolate the seed head from the background and makes the seed head stand out, and the studio lighting emphasises form and texture.
Golden hop (Humulus lupulus)
OM Digital Solutions OM-1 Mark II and OM 90mm F3.5 at 90 mm (35 mm equivalent: 180 mm). 1/250s at f/3.5, ISO 200. Cyanotype print digitised with Epson Perfection V550.
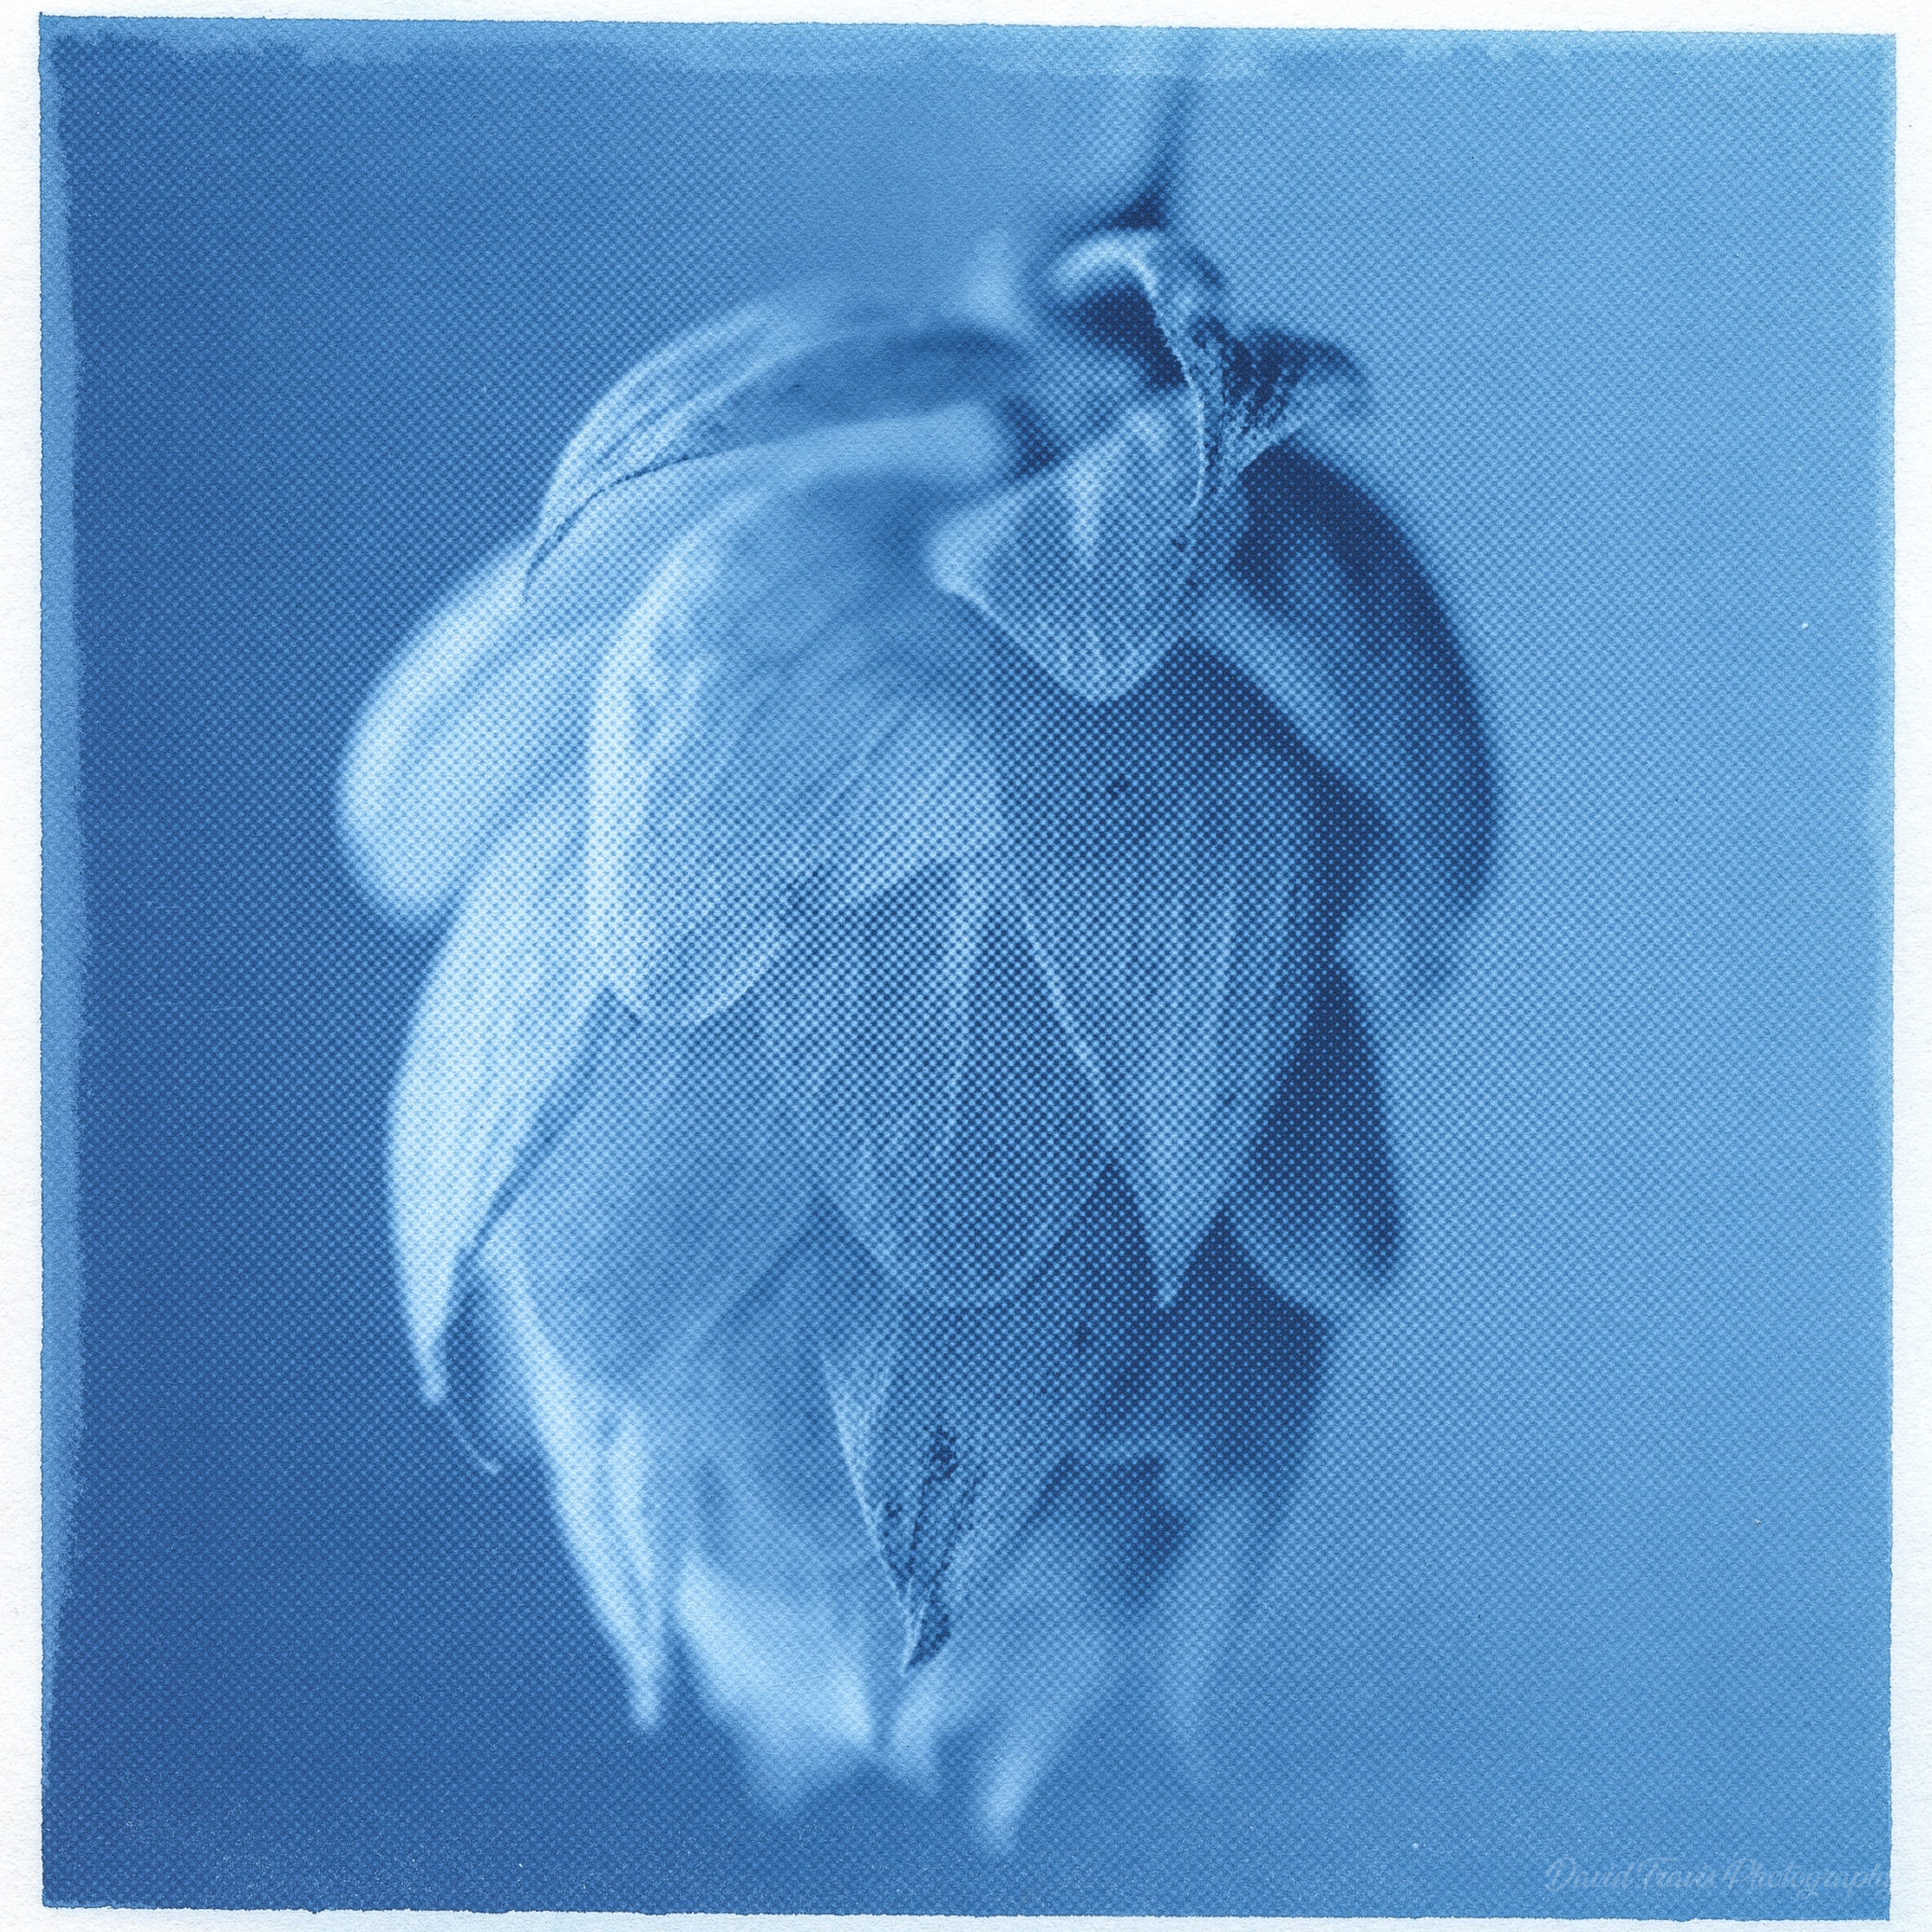
I created these images digitally, so why did I decide to print them as cyanotypes?
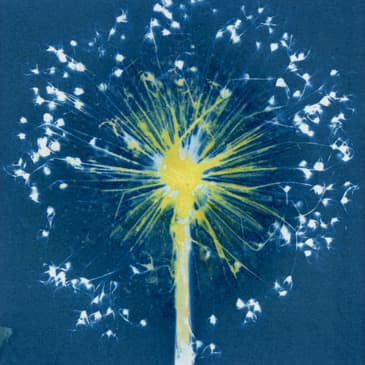
I did this because cyanotypes have long been used to create contact prints of botanical specimens.
Horse Chestnut (Aesculus hippocastanum)
OM Digital Solutions OM-1 Mark II and OM 90mm F3.5 at 90 mm (35 mm equivalent: 180 mm). 1/250s at f/3.5, ISO 200. Cyanotype print digitised with Epson Perfection V550.
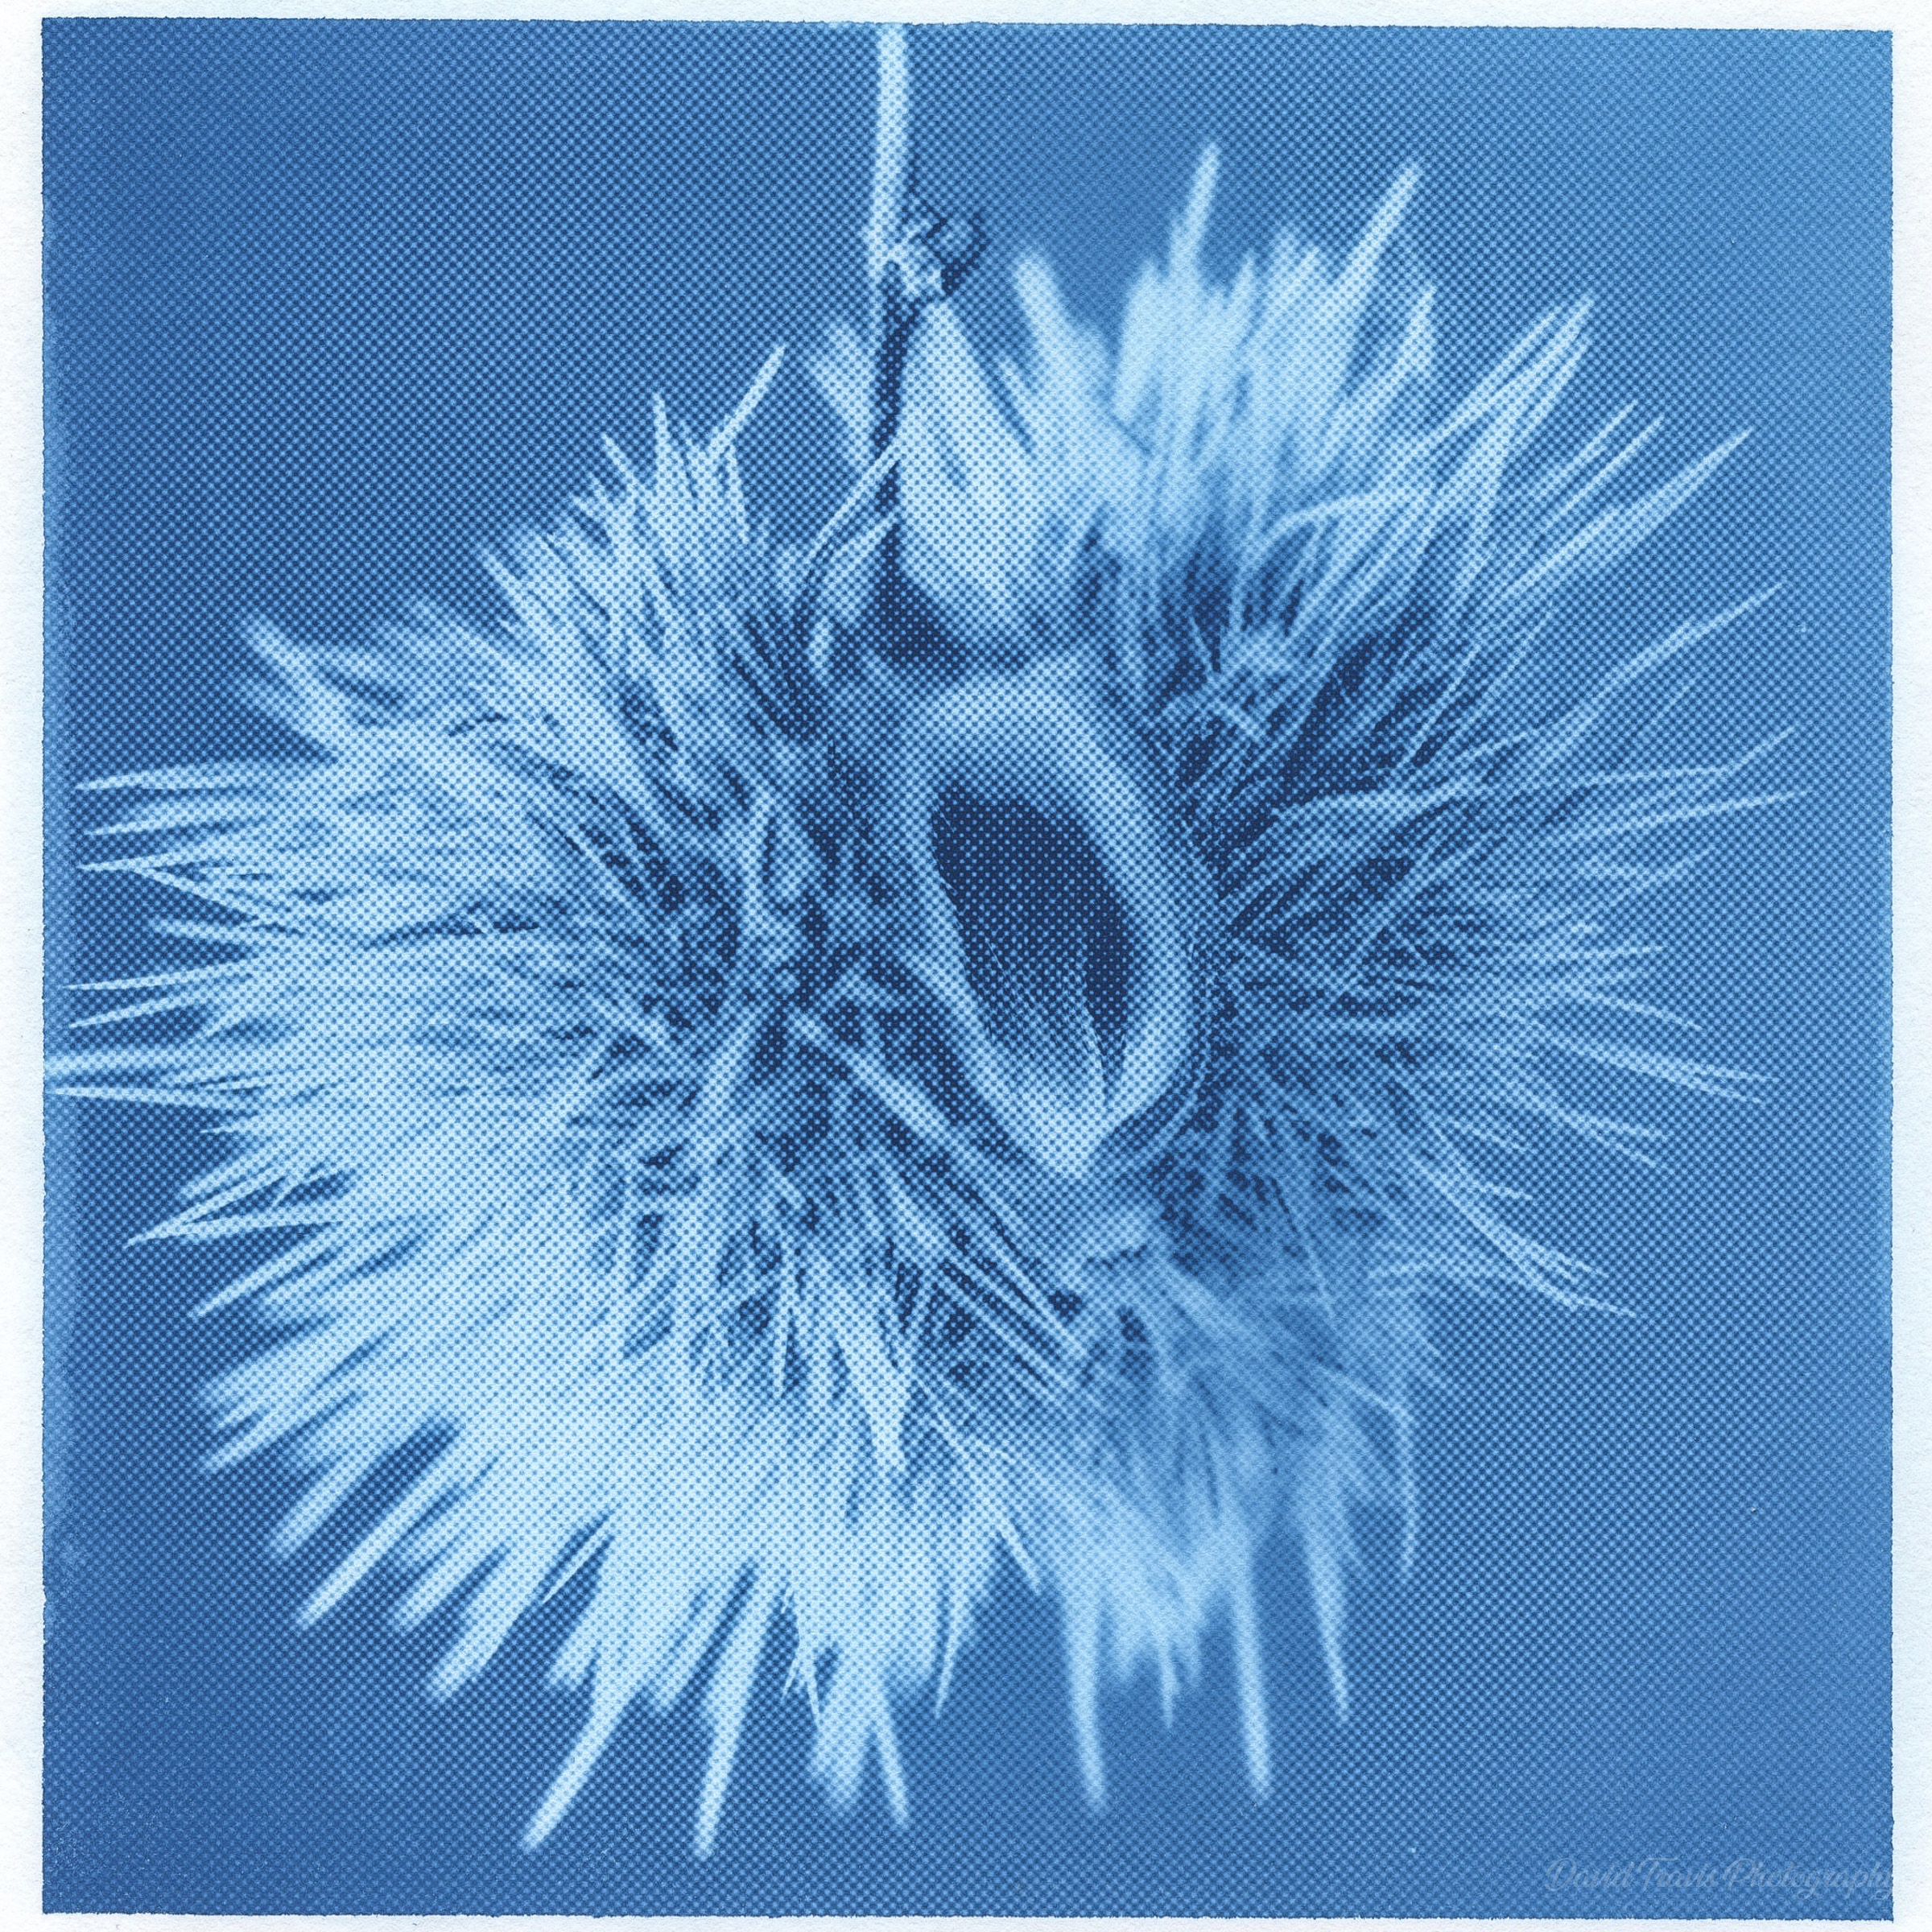
As far back as 1843, Anna Atkins published the first book illustrated with photographic images, Photographs of British Algae: Cyanotype Impressions. Atkins created her photographs by placing botanical specimens onto cyanotype-coated paper and exposing them to sunlight.
Teasel (Dipsacus fullonum)
OM Digital Solutions OM-1 Mark II and OM 90mm F3.5 at 90 mm (35 mm equivalent: 180 mm). 1/250s at f/3.5, ISO 200. Cyanotype print digitised with Epson Perfection V550.
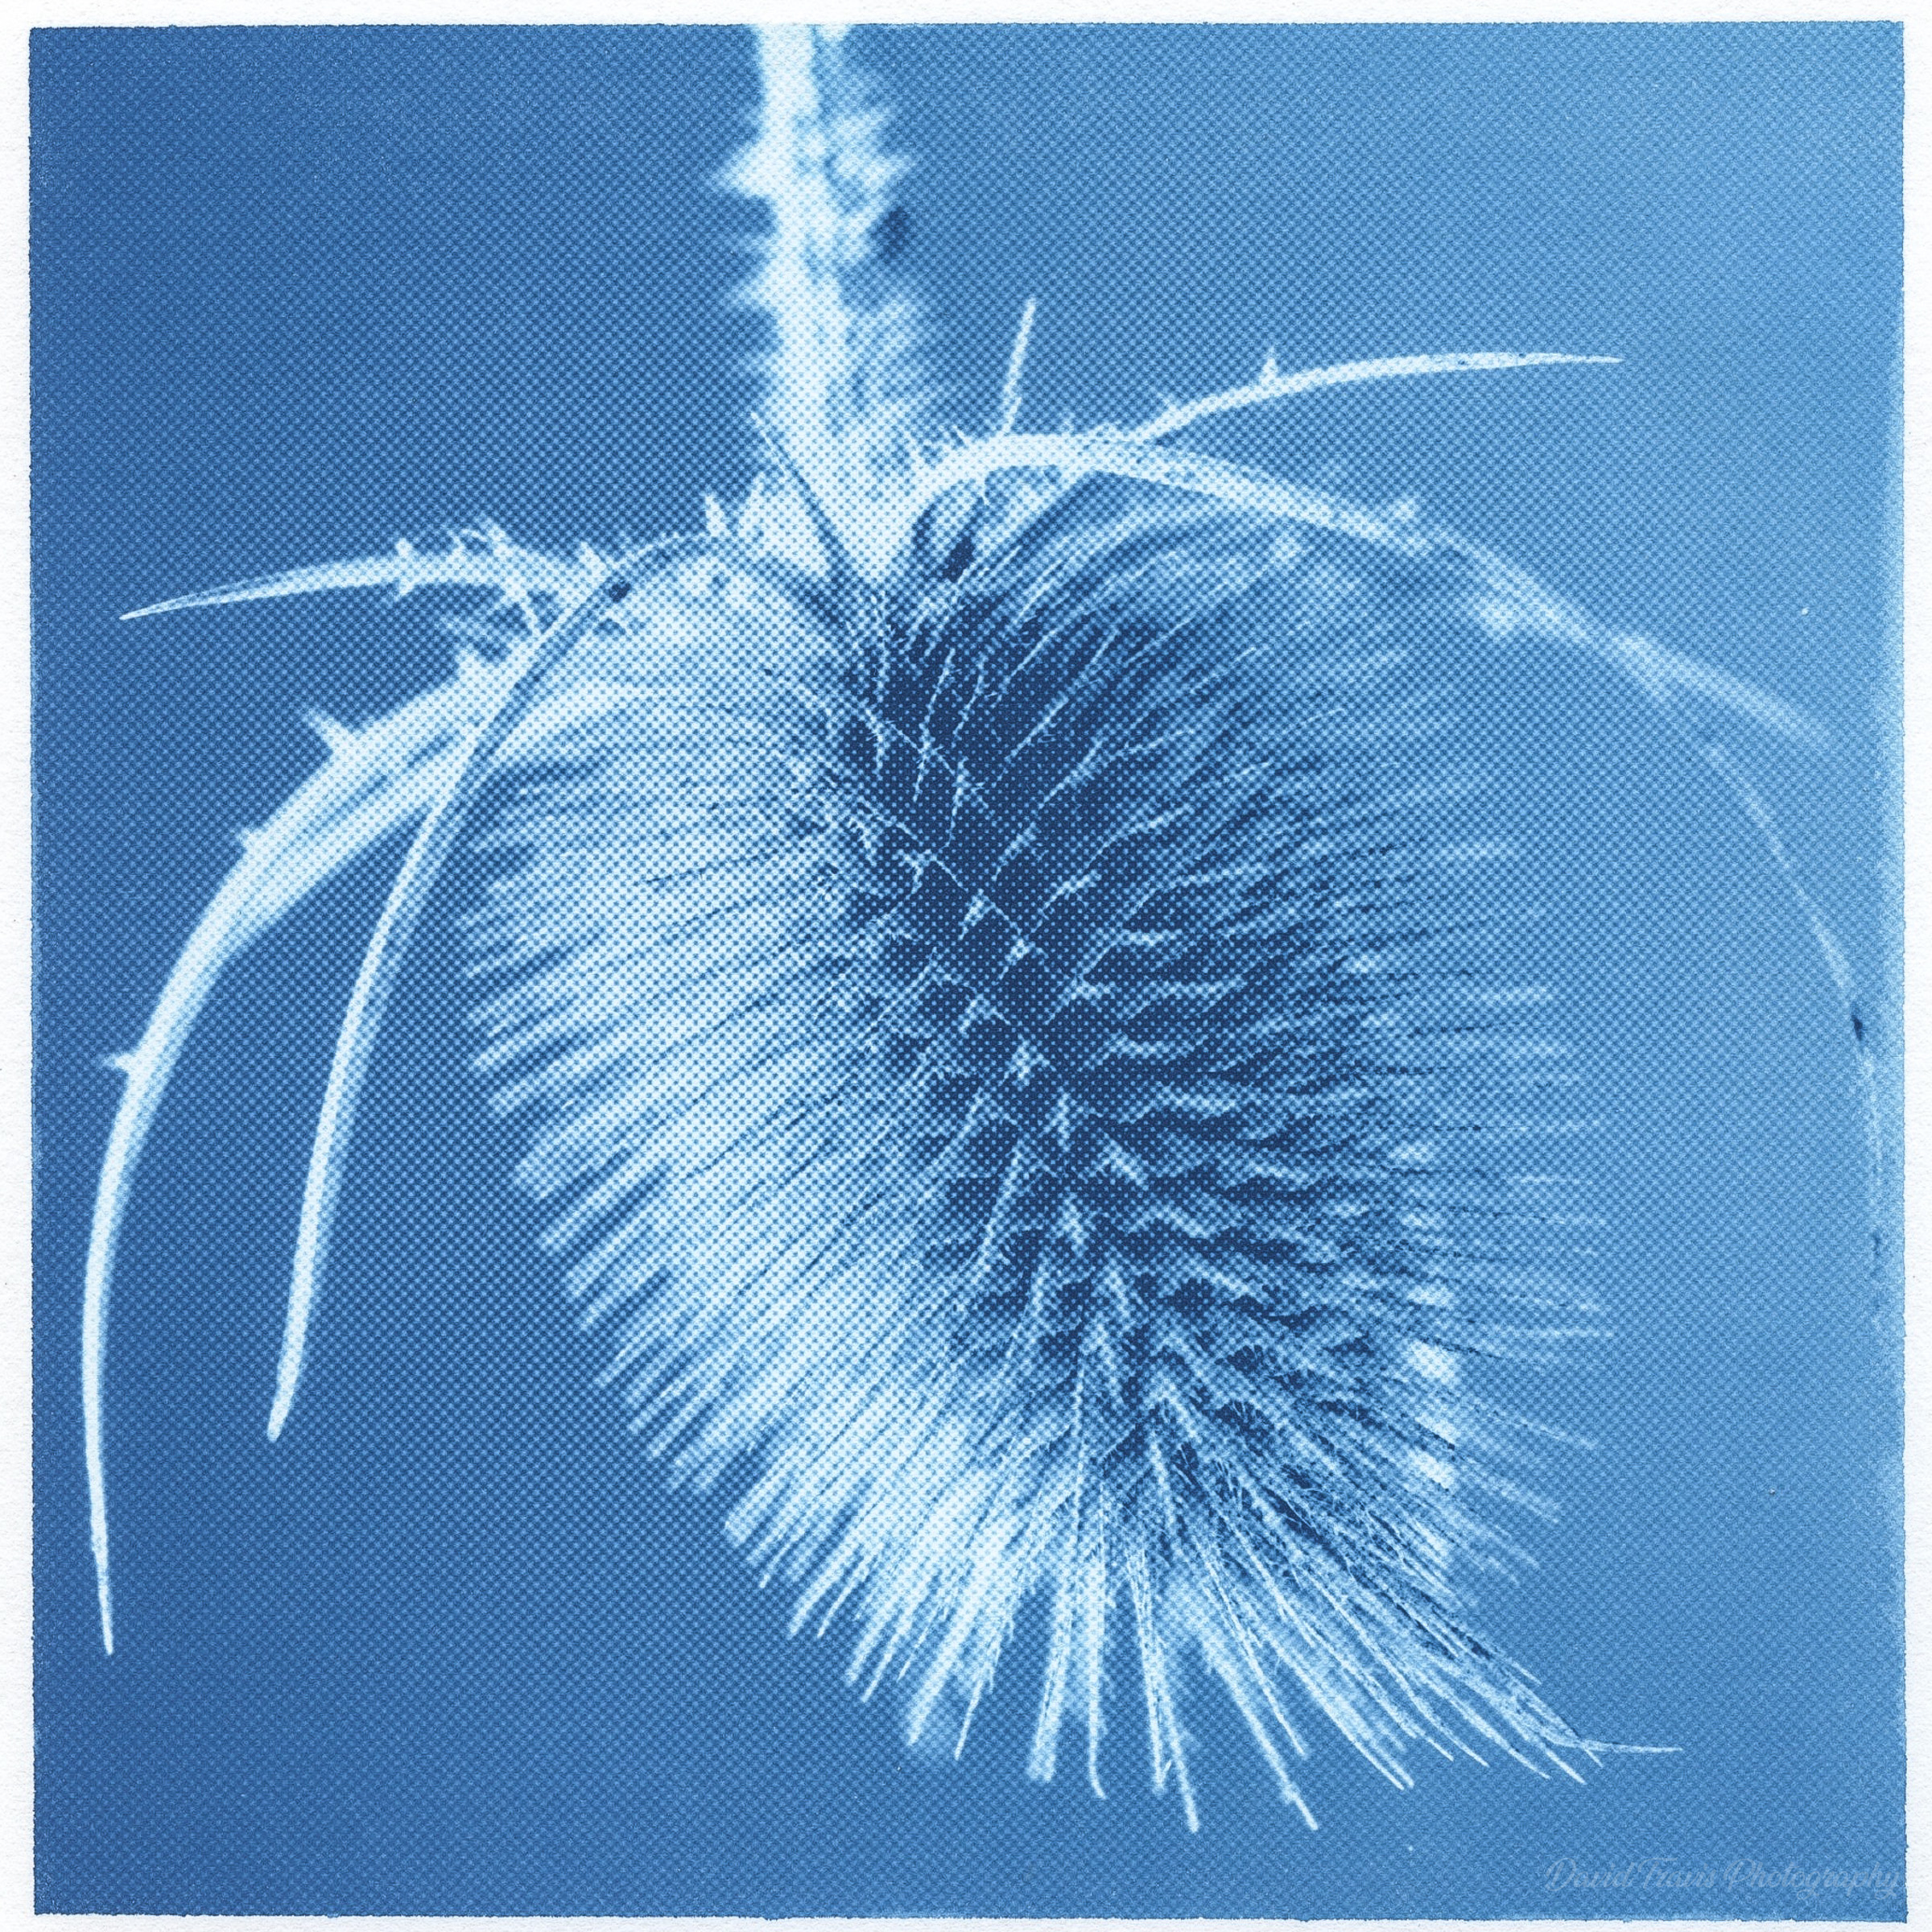
But because cyanotype is a contact printing process, it really only works with flat specimens. Seed heads pose a problem for contact printing because they are too three-dimensional to sit flat on the paper beneath the glass. When the subject doesn't touch the paper, it rapidly loses contrast and detail.
Ivy (Hedera)
OM Digital Solutions OM-1 Mark II and OM 90mm F3.5 at 90 mm (35 mm equivalent: 180 mm). 1/250s at f/3.5, ISO 200. Cyanotype print digitised with Epson Perfection V550.
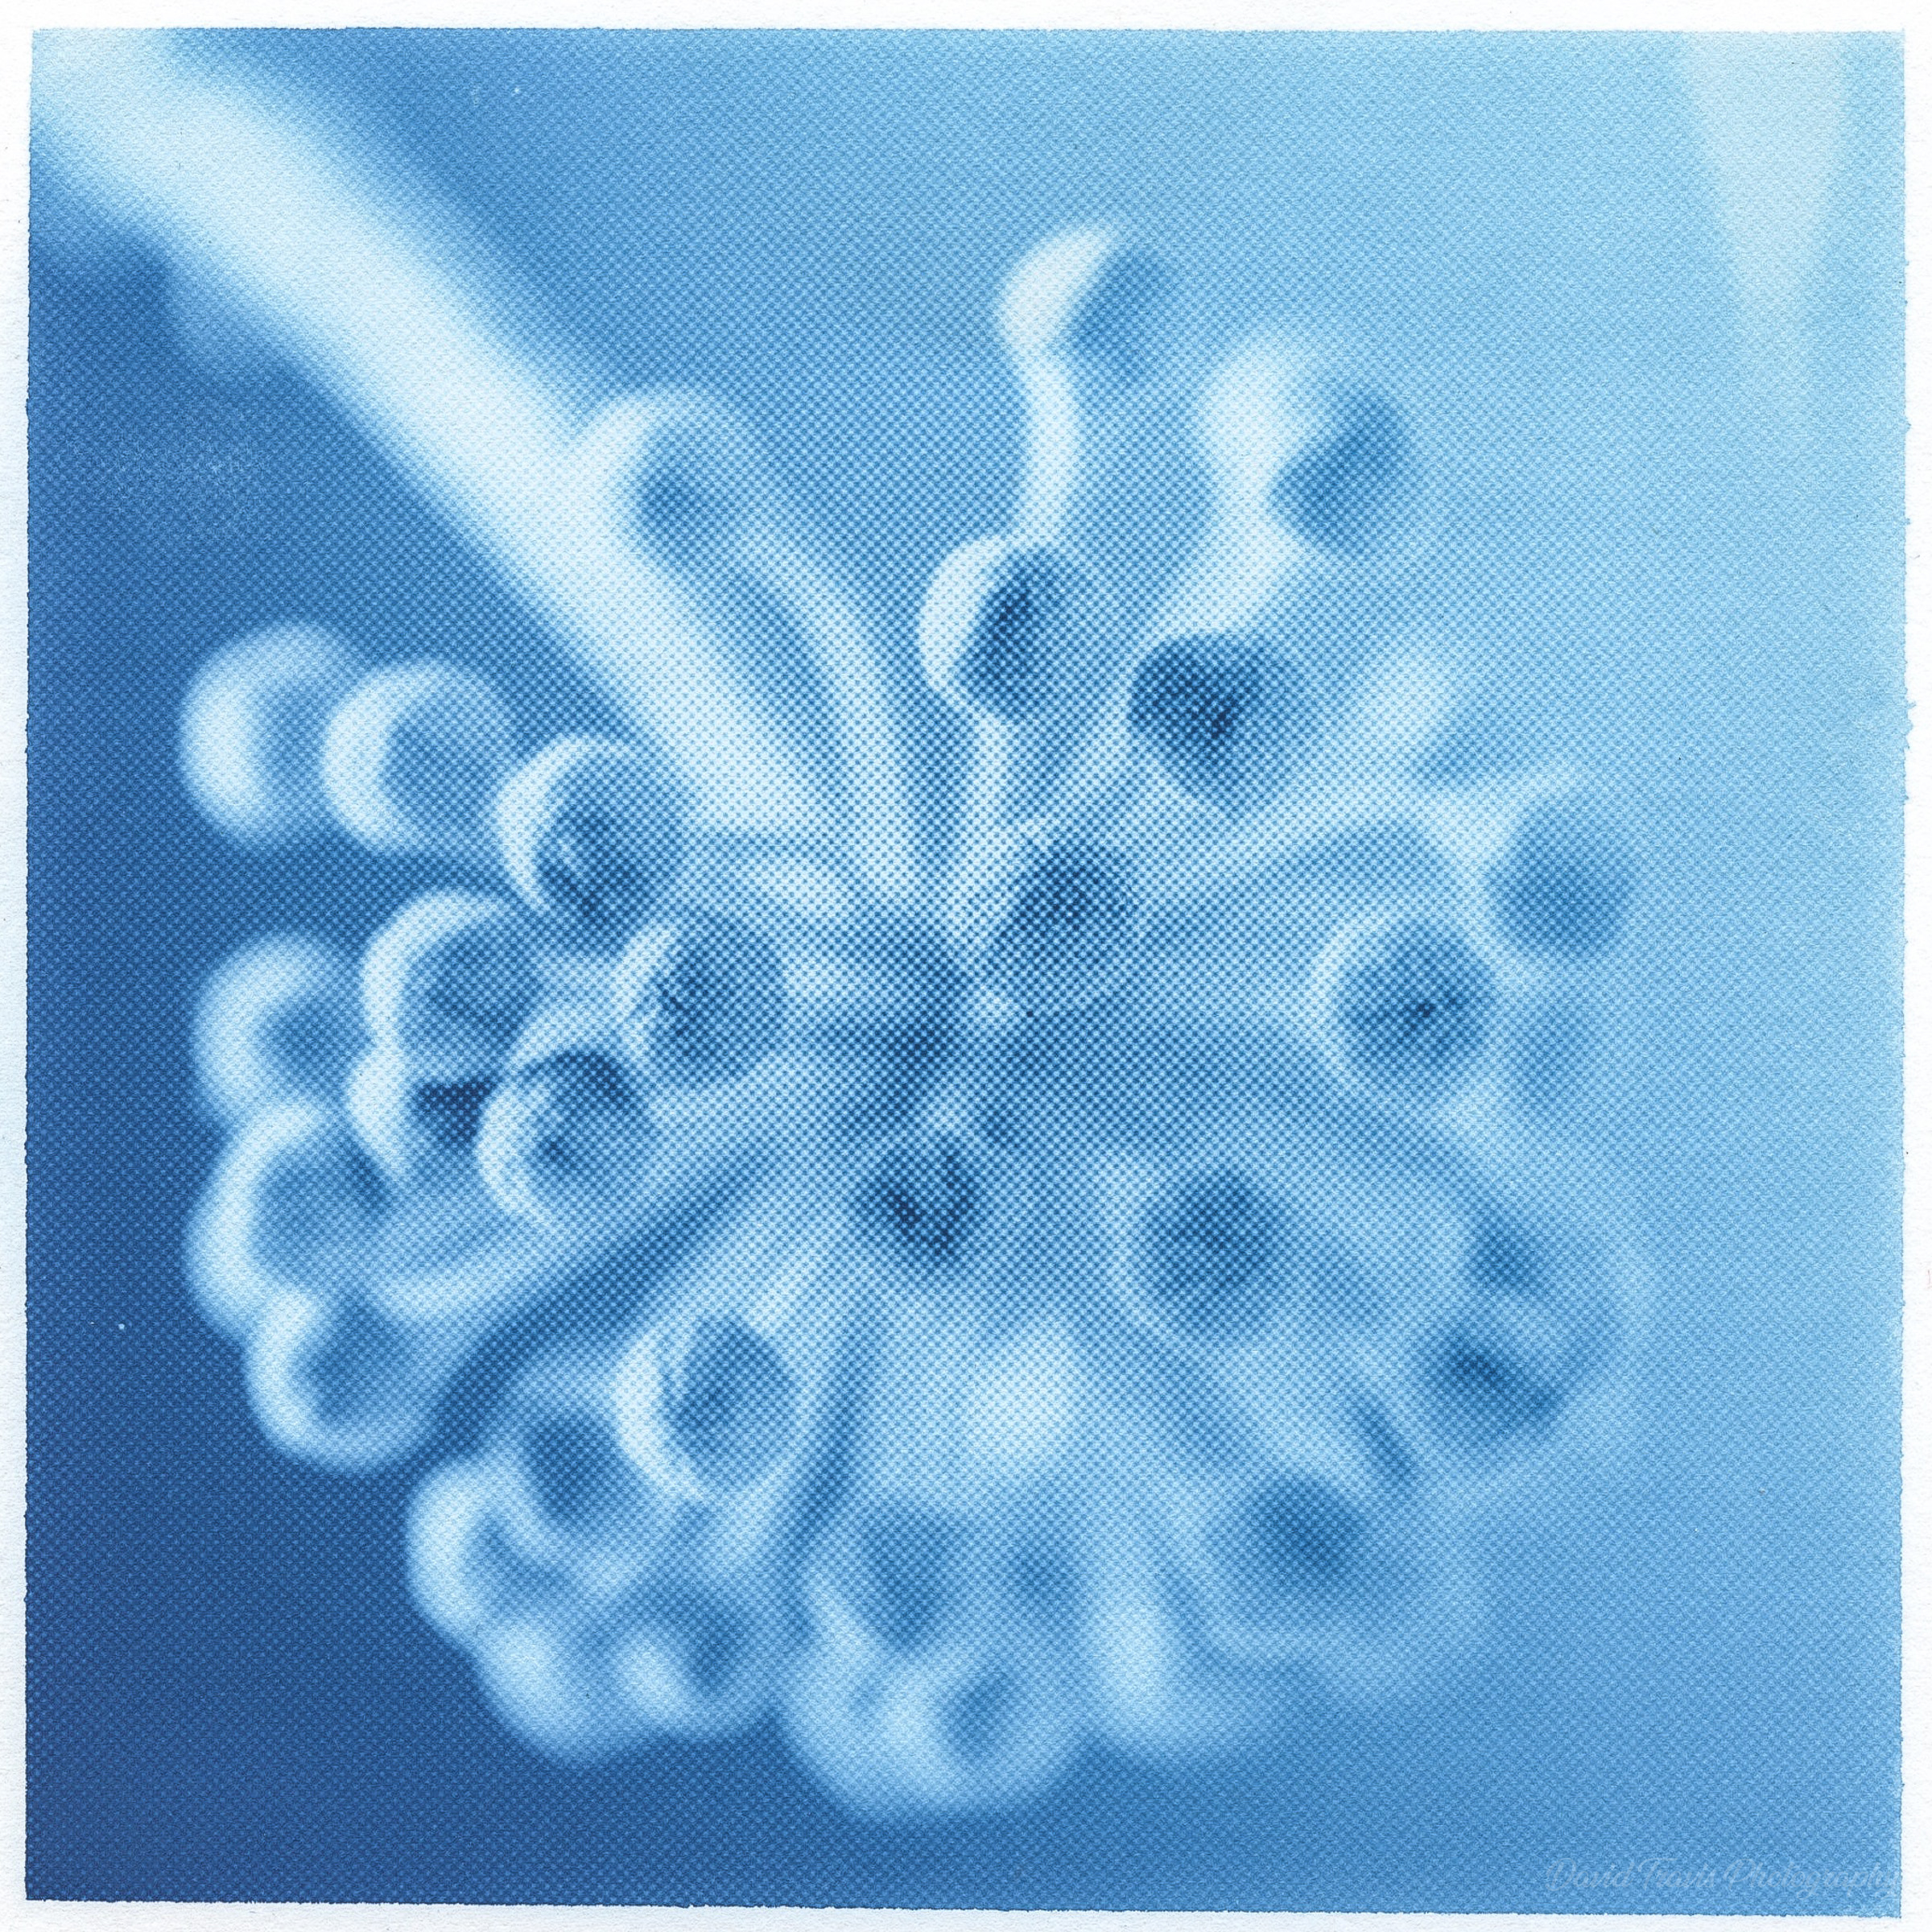
So I photographed the plants with a digital camera and then converted the photographs into negatives. I used a halftone pattern to create the negatives because continuous-tone negatives can often produce flat, muddy cyanotypes. The halftone pattern breaks the continuous tones into dots, giving the cyanotype more information to work with in the midtones. I found that this increased the overall contrast of the prints while having a negligible impact on detail. It was also a creative decision as I thought the halftone effect complemented the subjects.
Alder (Alnus glutinosa)
OM Digital Solutions OM-1 Mark II and OM 90mm F3.5 at 90 mm (35 mm equivalent: 180 mm). 1/250s at f/3.5, ISO 200. Cyanotype print digitised with Epson Perfection V550.
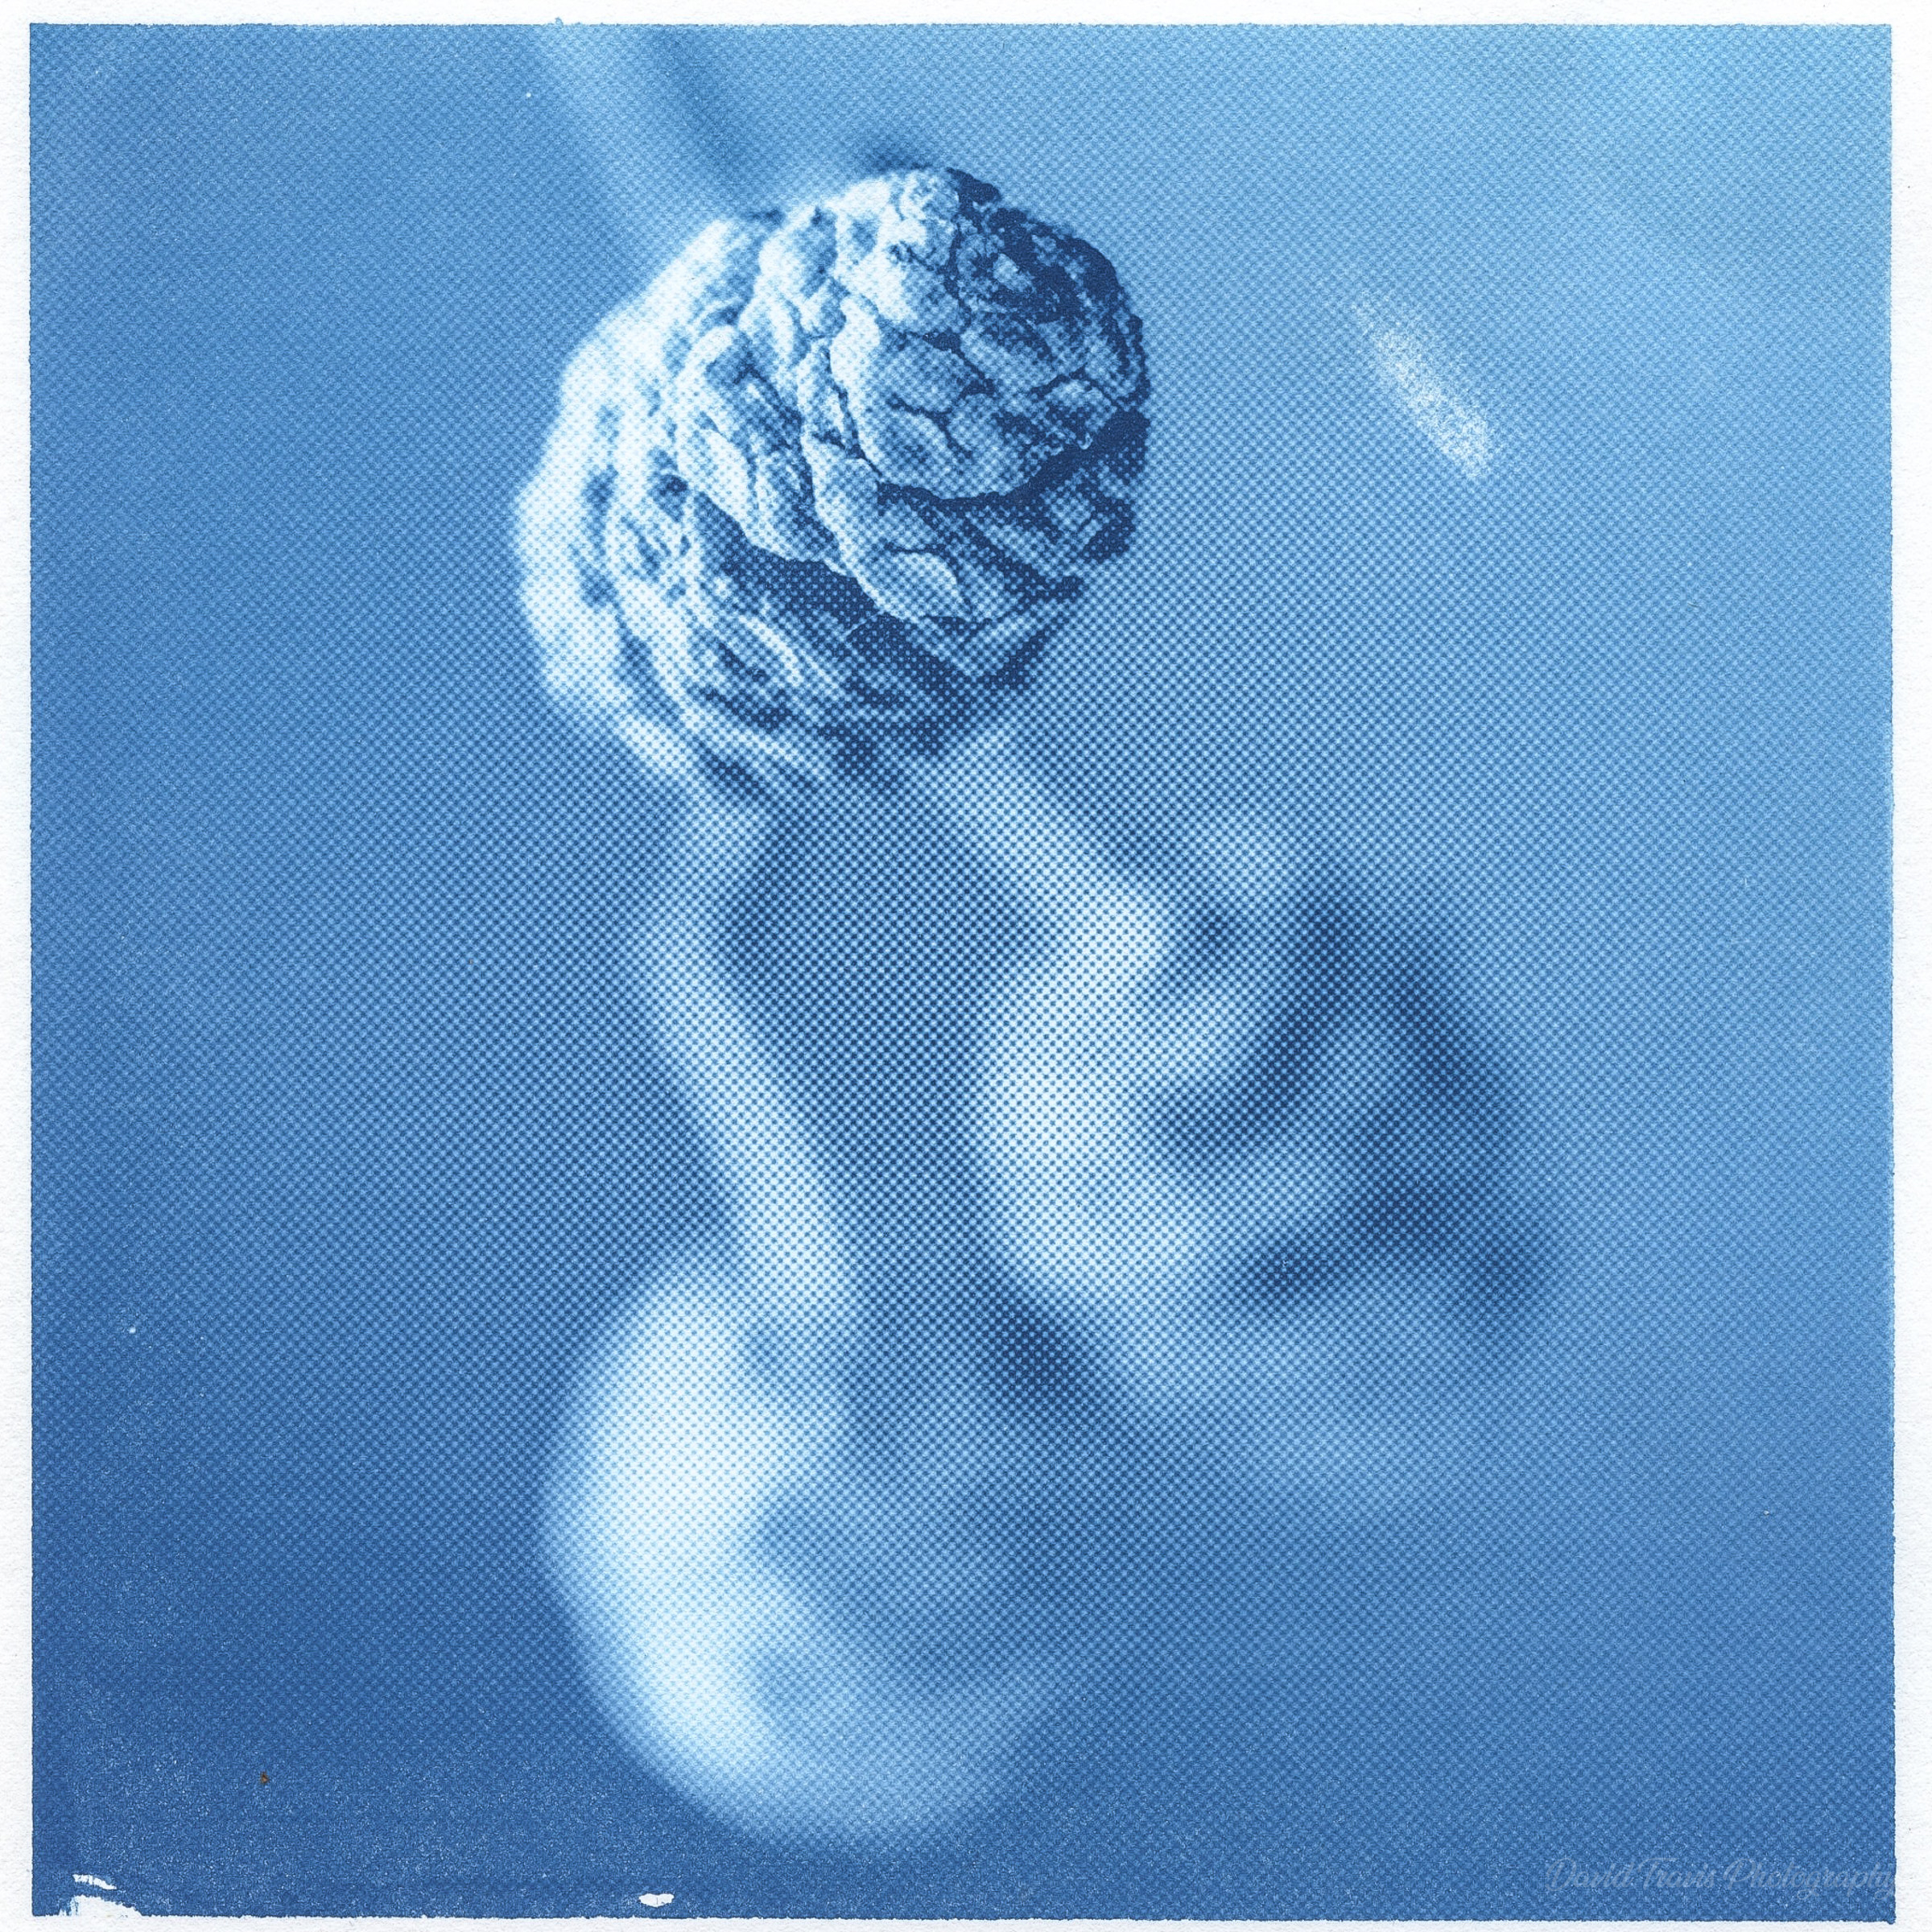
Once I had created the digital negative, I printed it onto a sheet of transparency film that I could lay flat against the cyanotype paper. The nature of contact printing means that the size of the image is determined by the size of the negative. My negatives were 180 mm (about 7 inches) square.
Sycamore (Acer pseudoplatanus)
OM Digital Solutions OM-1 Mark II and OM 90mm F3.5 at 90 mm (35 mm equivalent: 180 mm). 1/250s at f/3.5, ISO 200. Cyanotype print digitised with Epson Perfection V550.
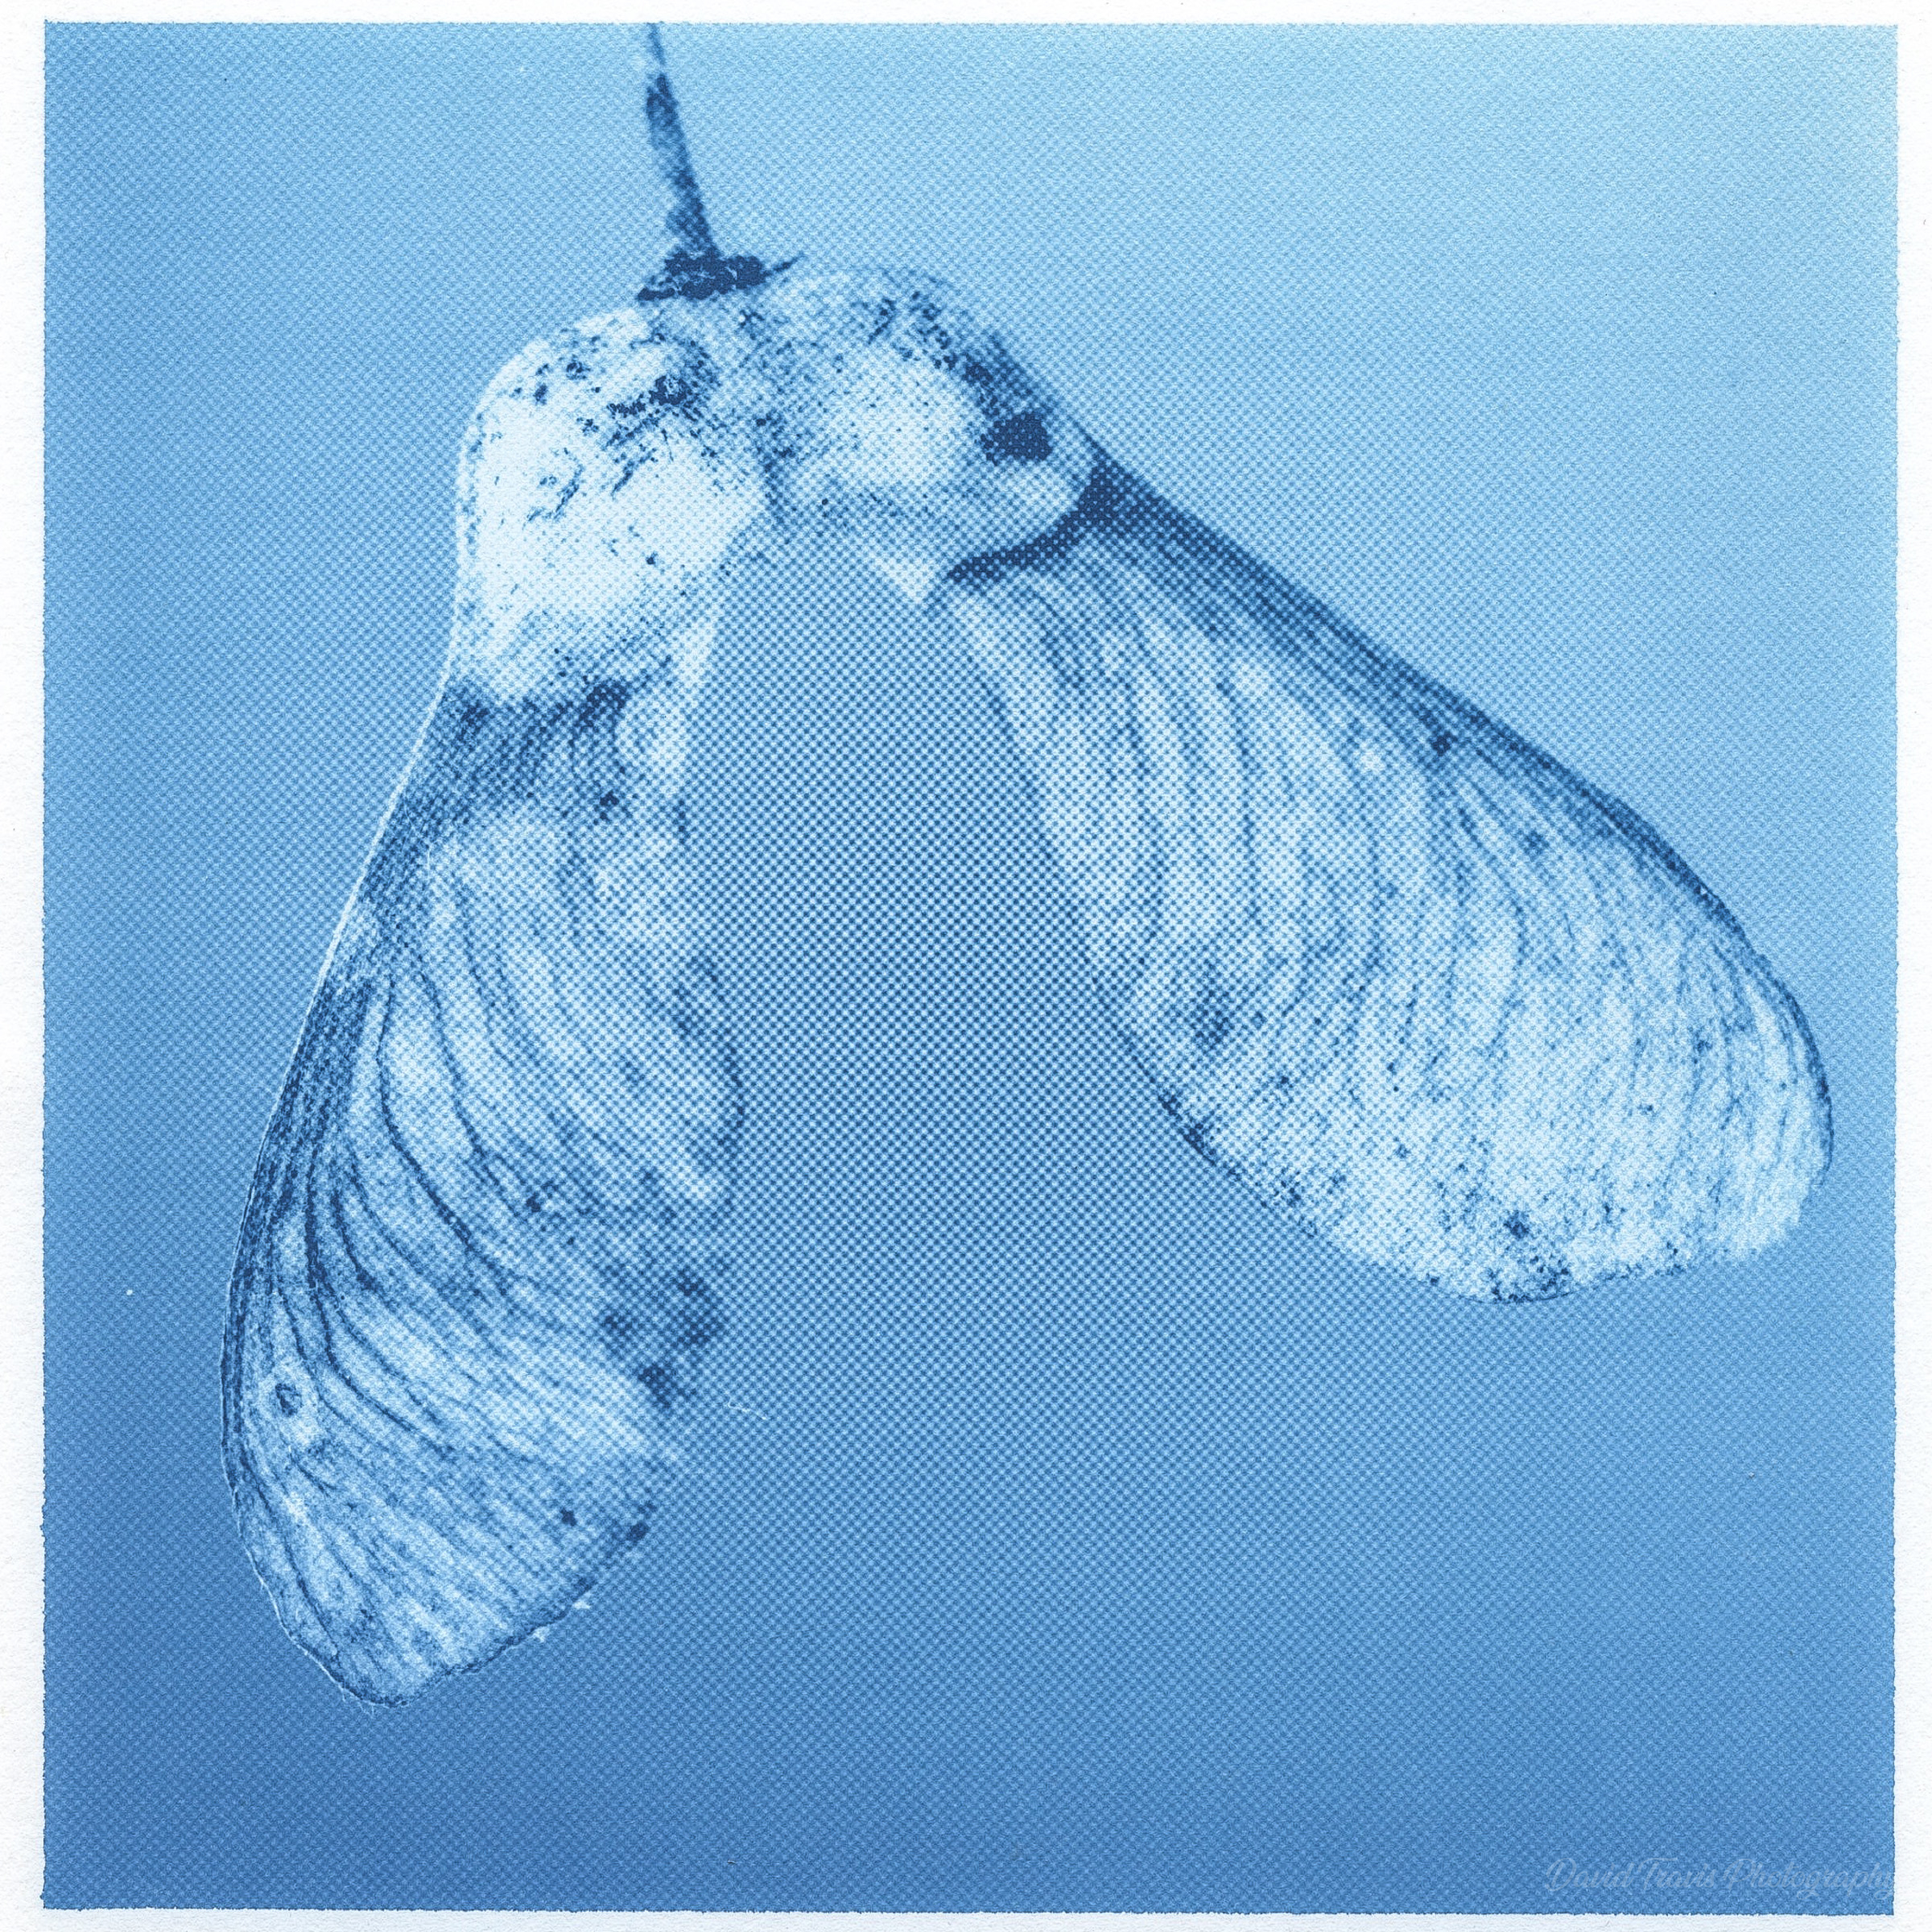
I like the way that combining the historical photographic process with the shallow depth of field echoes old-school tintype portraits of people taken with a large format camera.
Larch cones (Larix decidua)
OM Digital Solutions OM-1 Mark II and OM 90mm F3.5 at 90 mm (35 mm equivalent: 180 mm). 1/250s at f/3.5, ISO 200. Cyanotype print digitised with Epson Perfection V550.
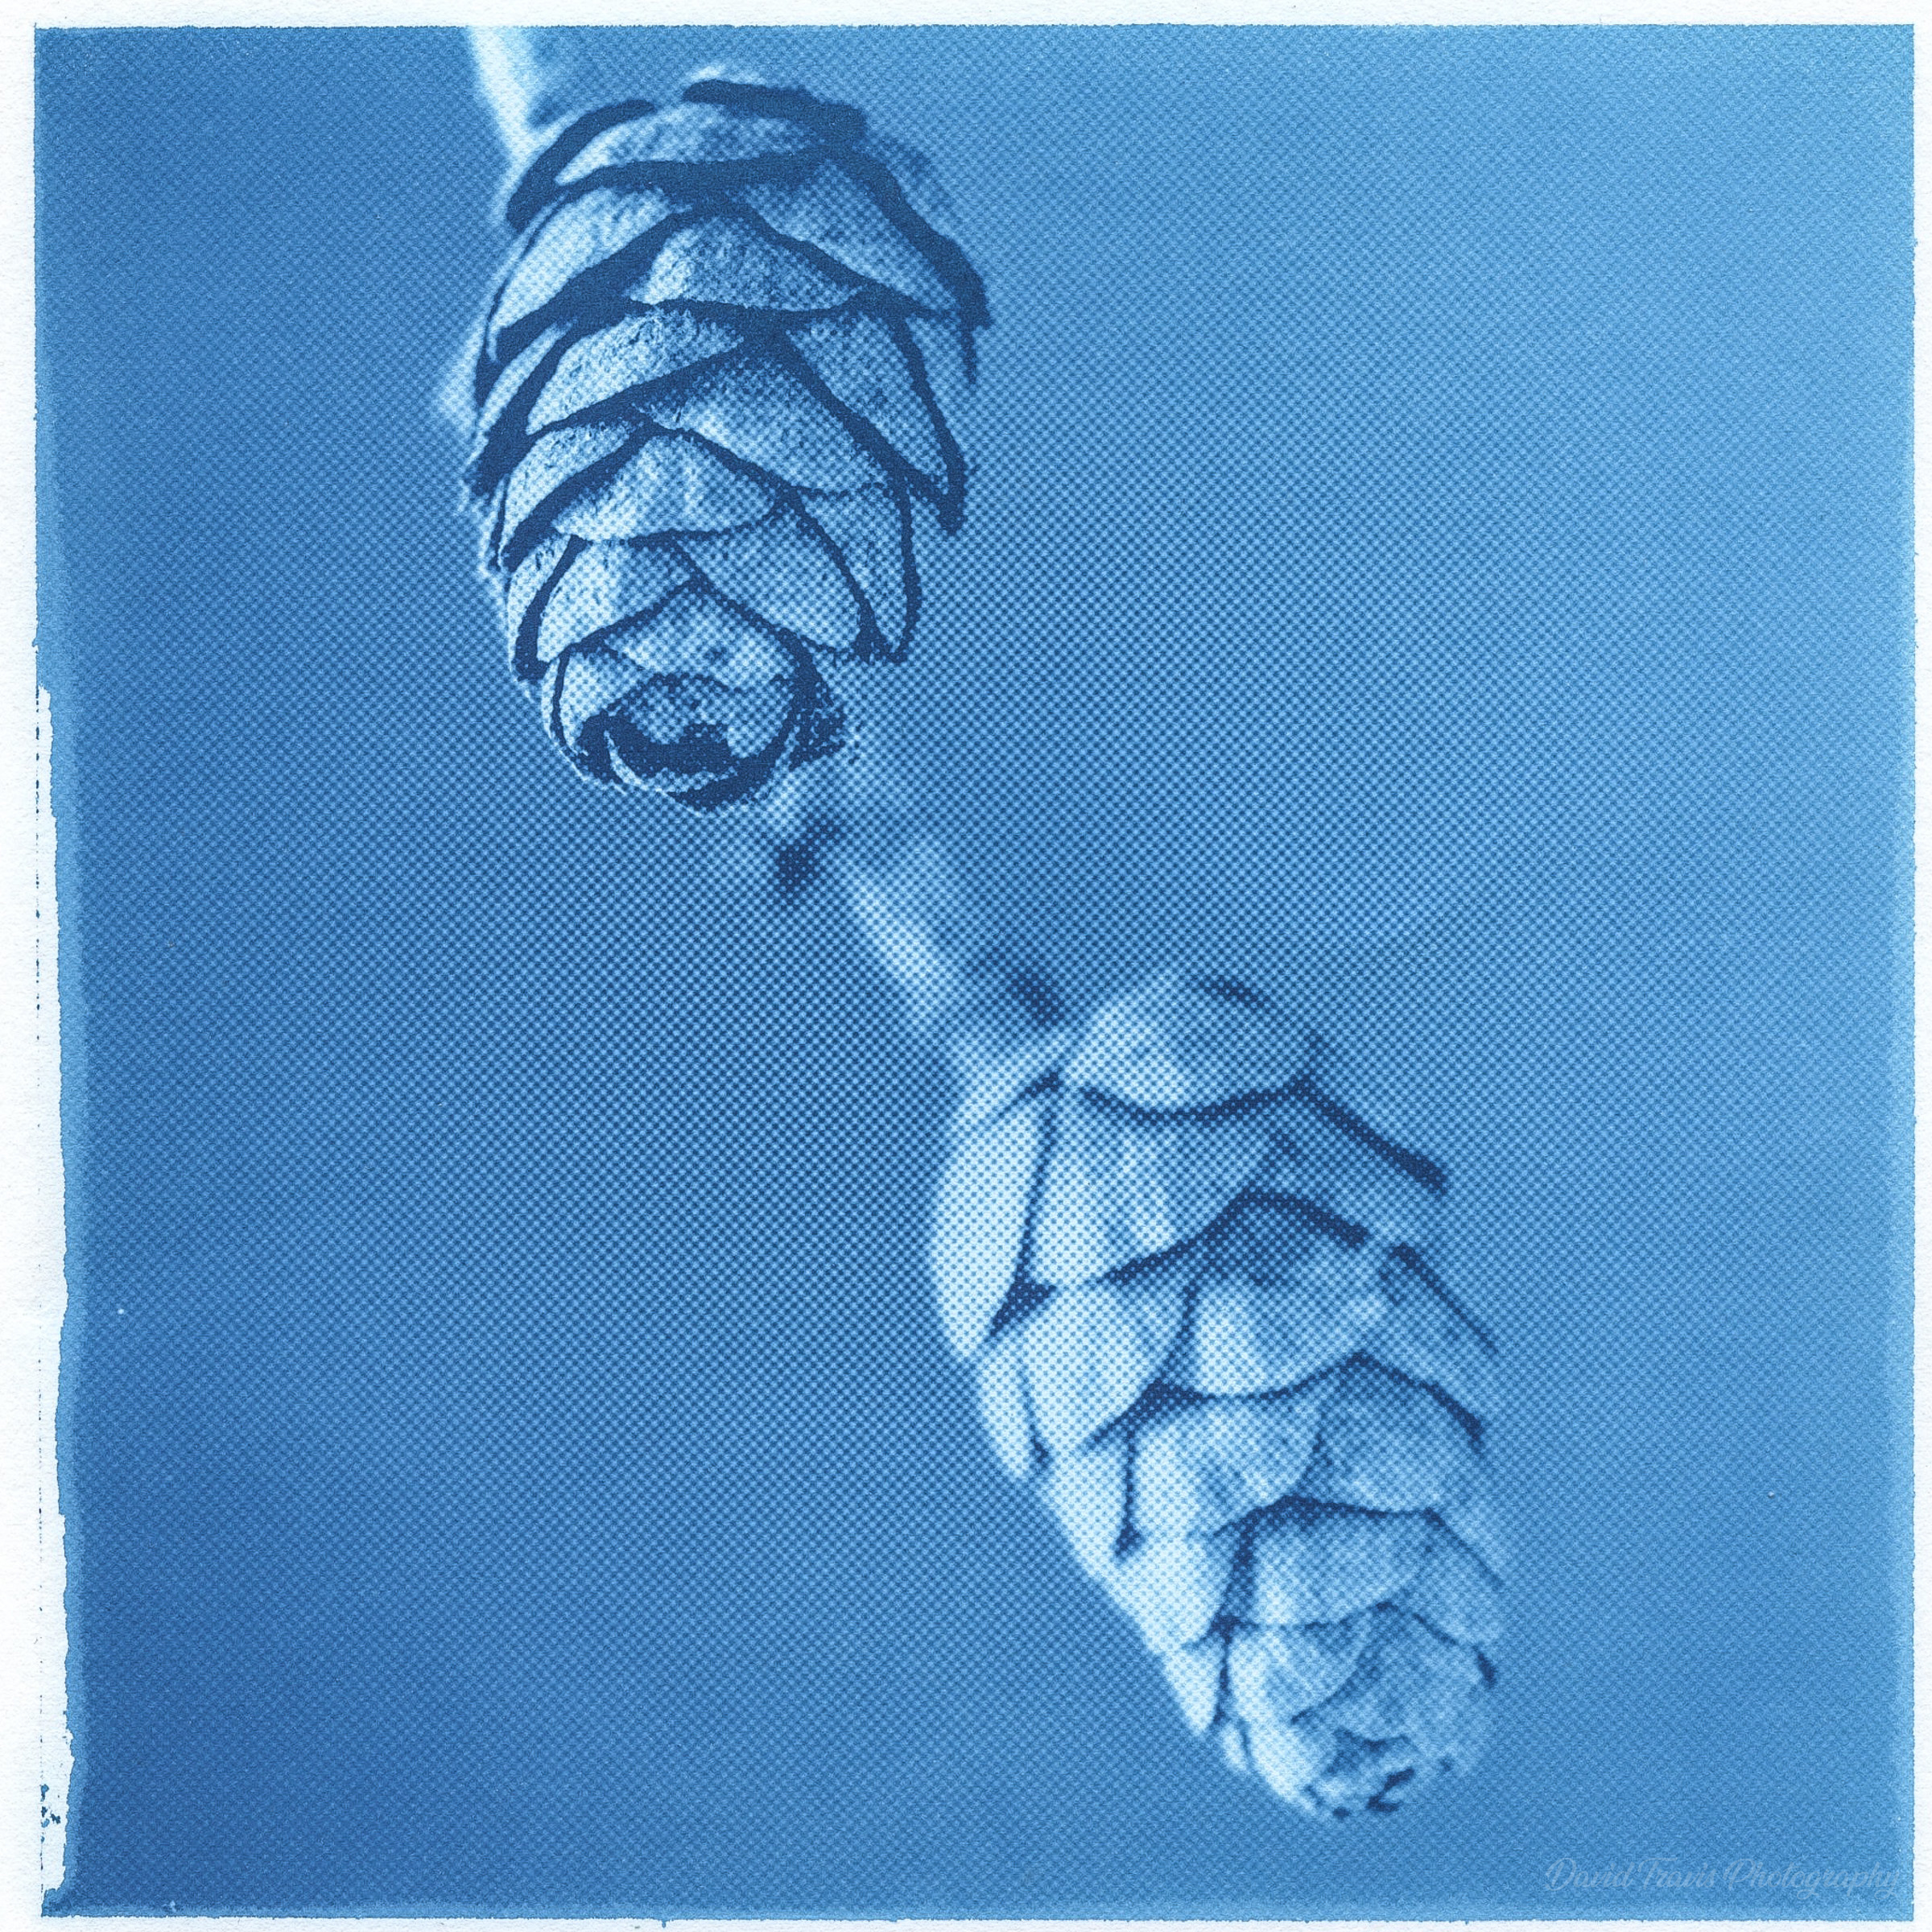
The approach creates a different kind of 'head shot': botanical specimens rather than people.
I thought 'Heads of Distribution' was a neat title because these are the parts of a plant associated with reproduction and seed distribution, and I intend them as portraits. And who knows, it might even drive some traffic to my web site from people looking for a job on LinkedIn!
Honesty (Lunaria annua)
This is one of the few seed heads flat enough that you could create a contact print from it.
OM Digital Solutions OM-1 Mark II and OM 90mm F3.5 at 90 mm (35 mm equivalent: 180 mm). 1/250s at f/3.5, ISO 200. Cyanotype print digitised with Epson Perfection V550.
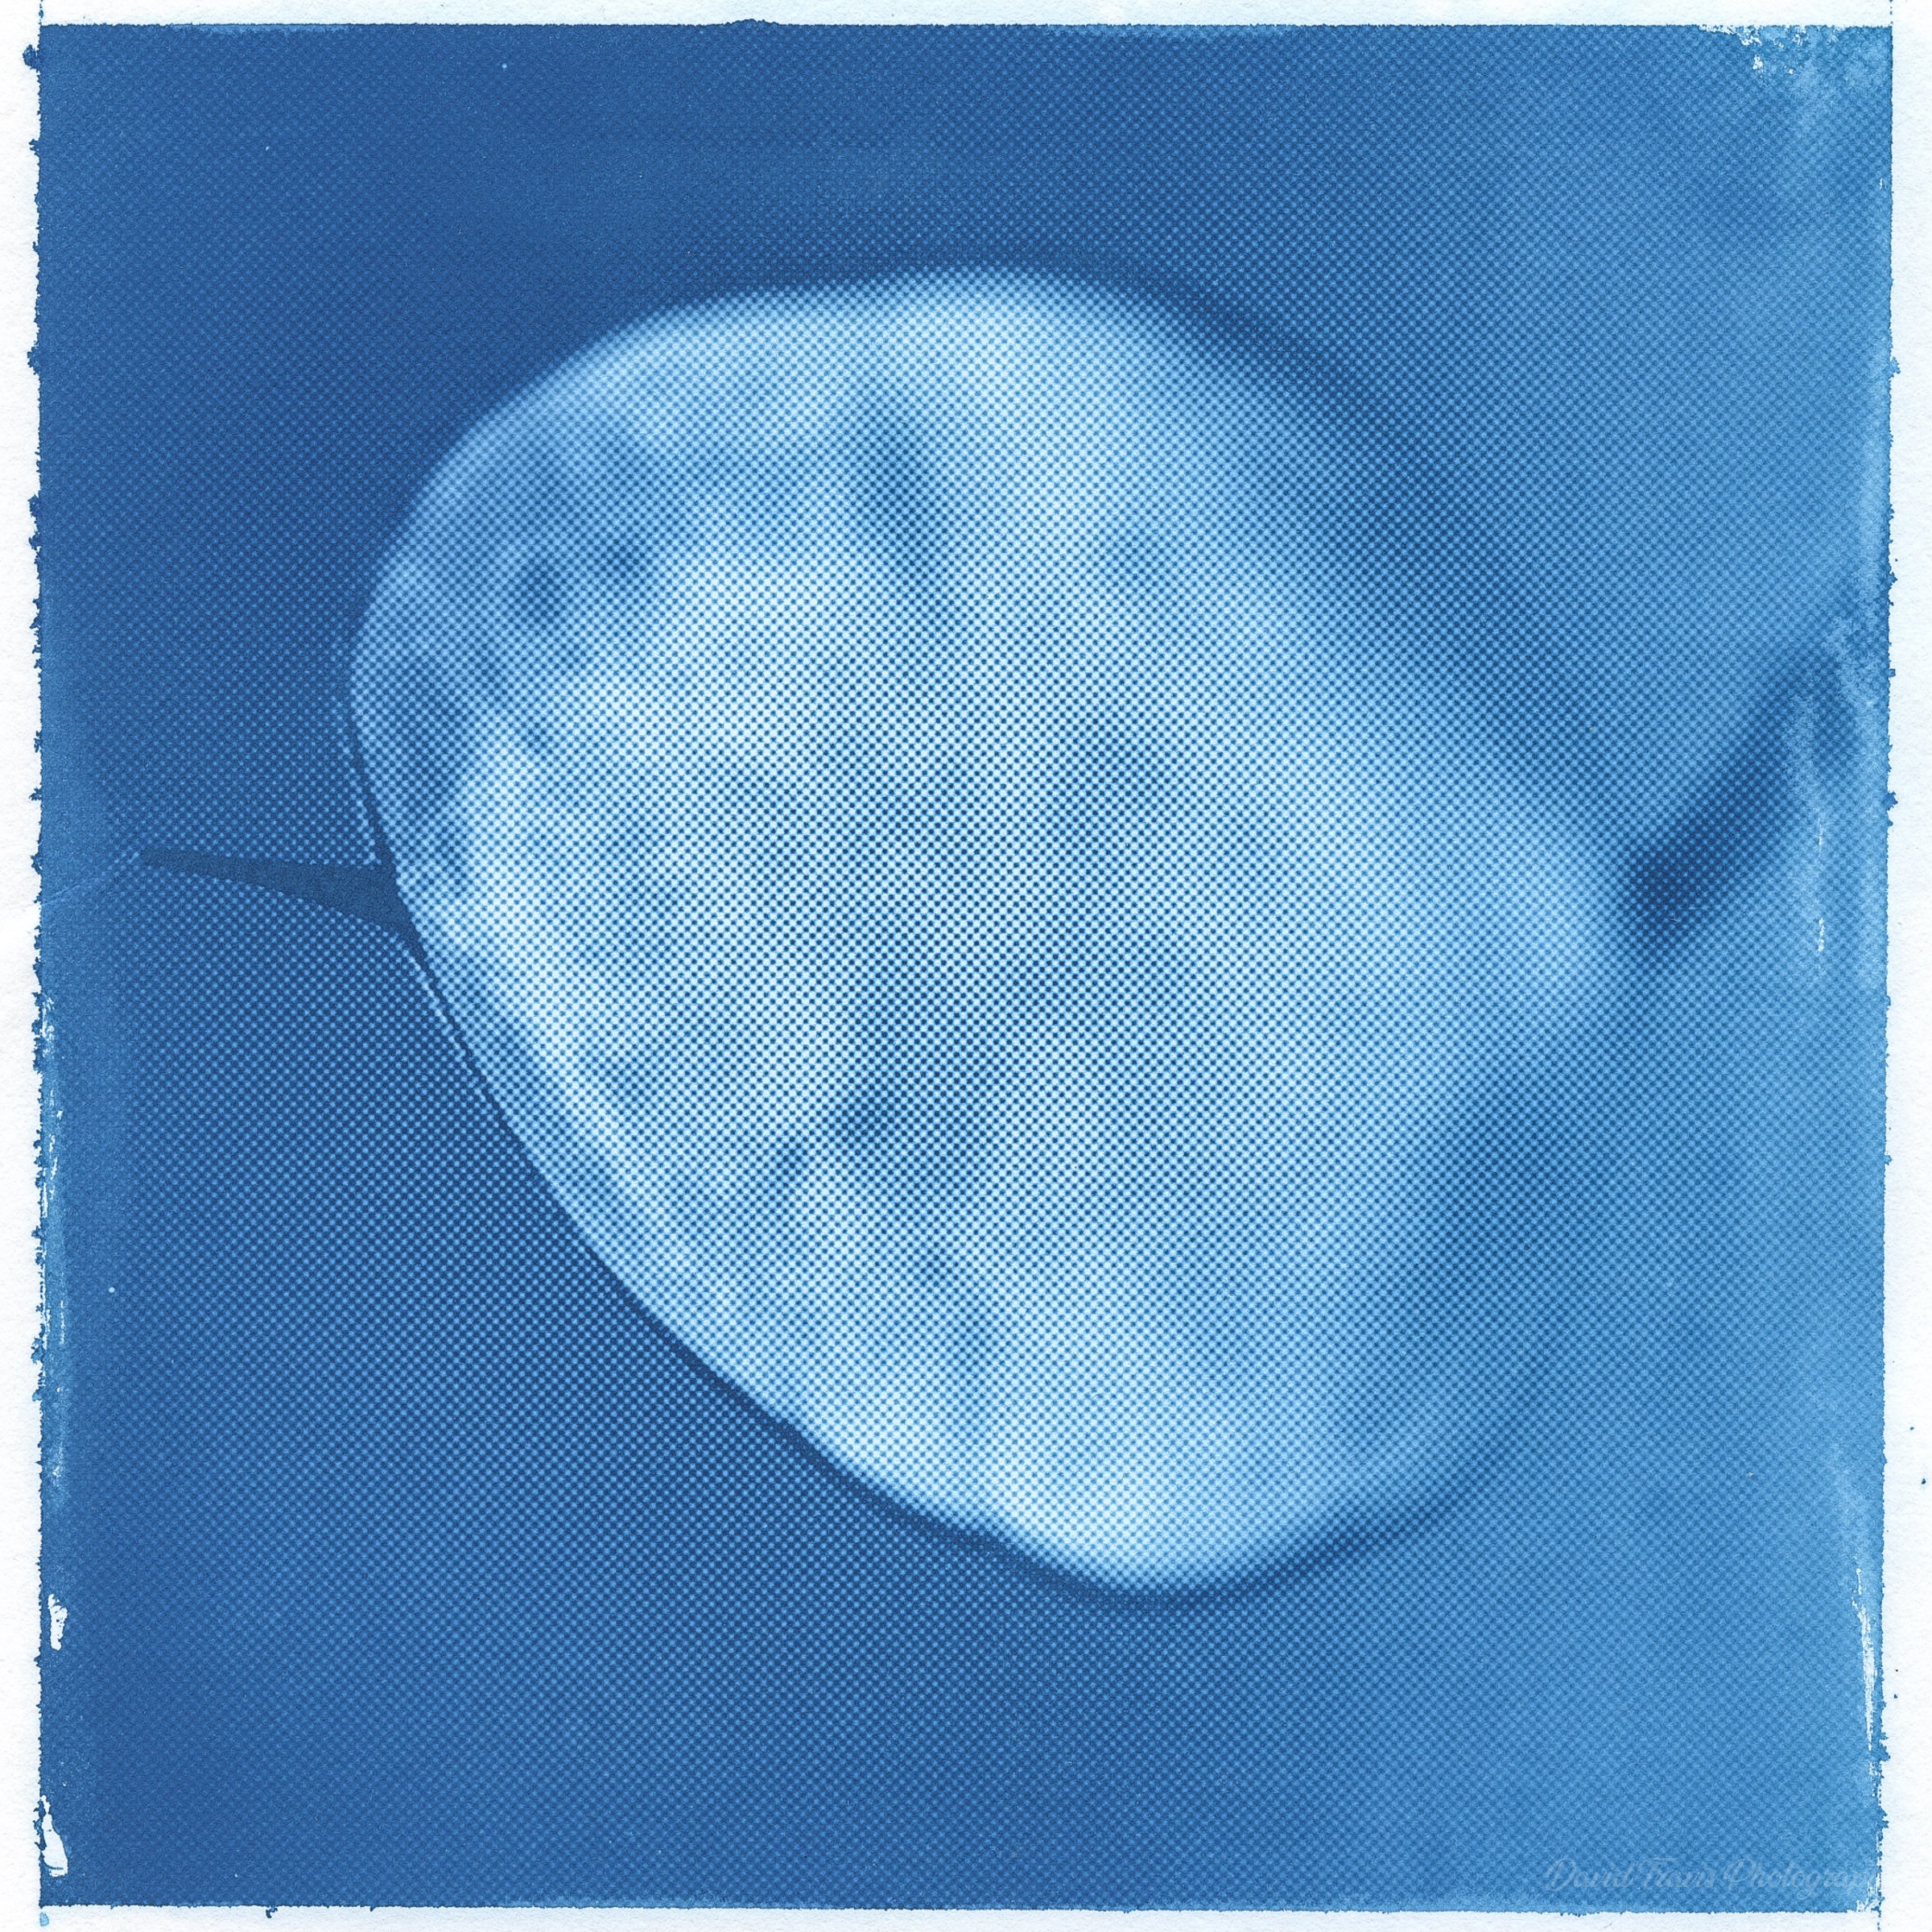
Making this project changed the way I look at seed heads. Structures I would normally walk past became individual portrait subjects, each with its own form and character.